
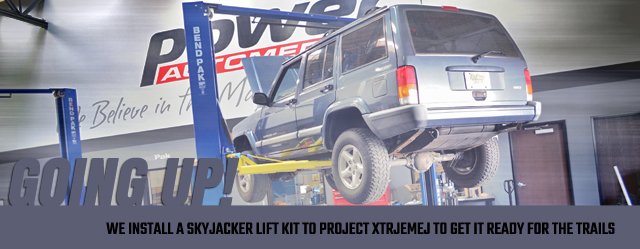
The time has come for us to add some lift to Project XtremeJ in order to get it ready to hit the trails. When selecting a lift kit, thought should go into what type of off-roading you will be doing. For this project, we will be rock-crawling and trail-riding.
We turned to Skyjacker and its six-inch Rock Ready II suspension lift (PN JC605BKSH-R). This kit would add a combination of new coil springs up front and leaf packs in the back to get the Jeep sitting just right.
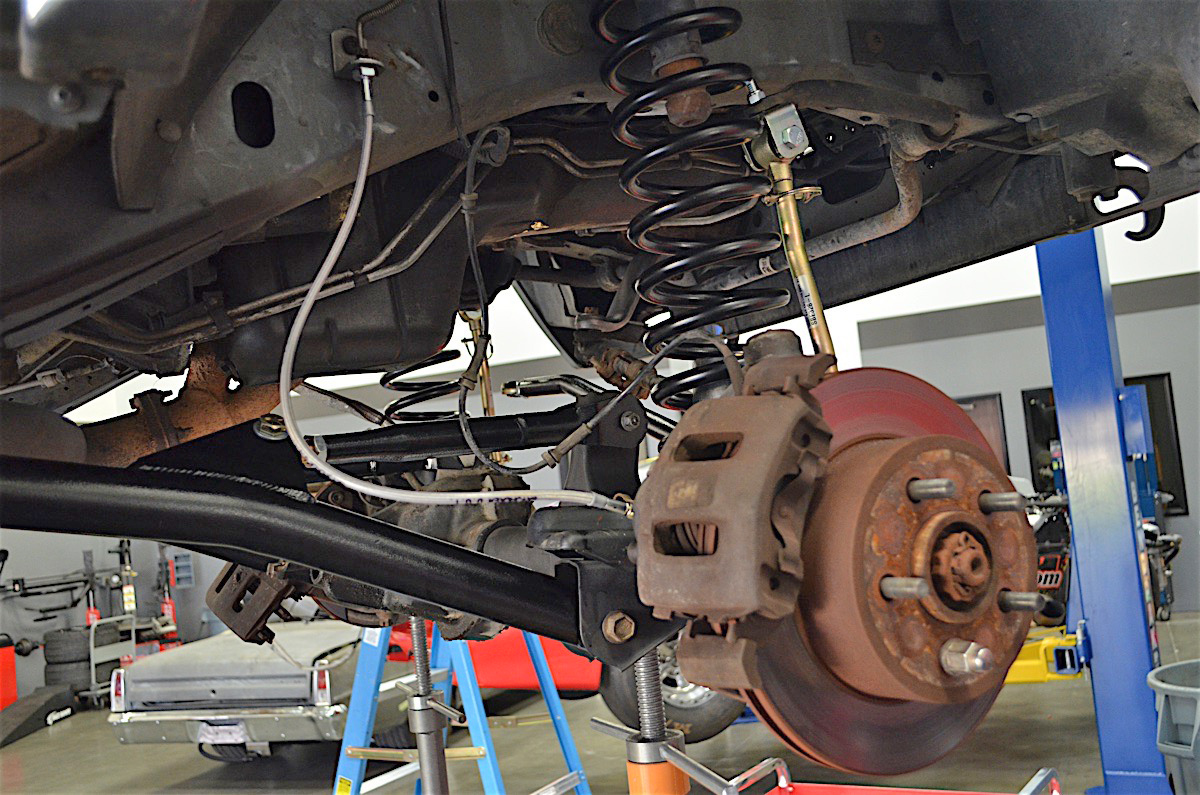
Time To Get To Work
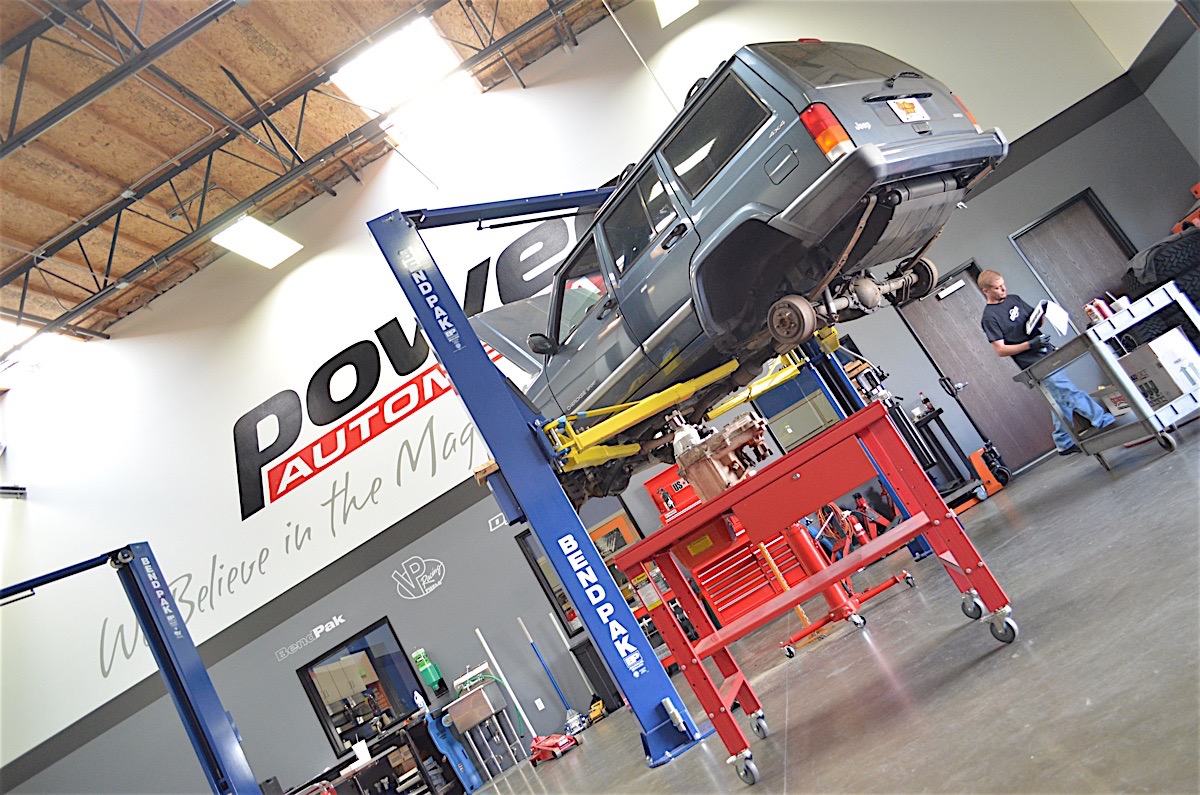
We brought XtremeJ into our in-house facility, and with the help of our Bendpak lift we got the vehicle up and the tires off.
With the Jeep in the air, we removed the transfer case first. Along with the lift kit we would be adding a SYE (Slip Yoke Eliminator) kit (PN 18676.60). We also picked up a Rugged Ridge kit from Extreme Terrain. Extreme Terrain is an online distributor for Jeep Wrangler parts.

Our Rugged Ridge SYE kit that we decided to go with will help our driveshaft angle with the 6-inch lift kit installed.
“When you lift around four inches or more, the short drive shaft ends up at a very steep angle which can cause driveline vibrations. Installing the SYE will shorten the transfer case which allows you to run a longer drive shaft that subsequently will have a flatter angle. The output yoke on an SYE is also set up for a constant velocity drive shaft. The CV drive shafts are designed to run at steeper angles without vibrating. The combination of an SYE and CV drive shaft eliminates drive line vibrations on TJ’s with tall lifts,” said Ryan Huck of Extreme Terrain.
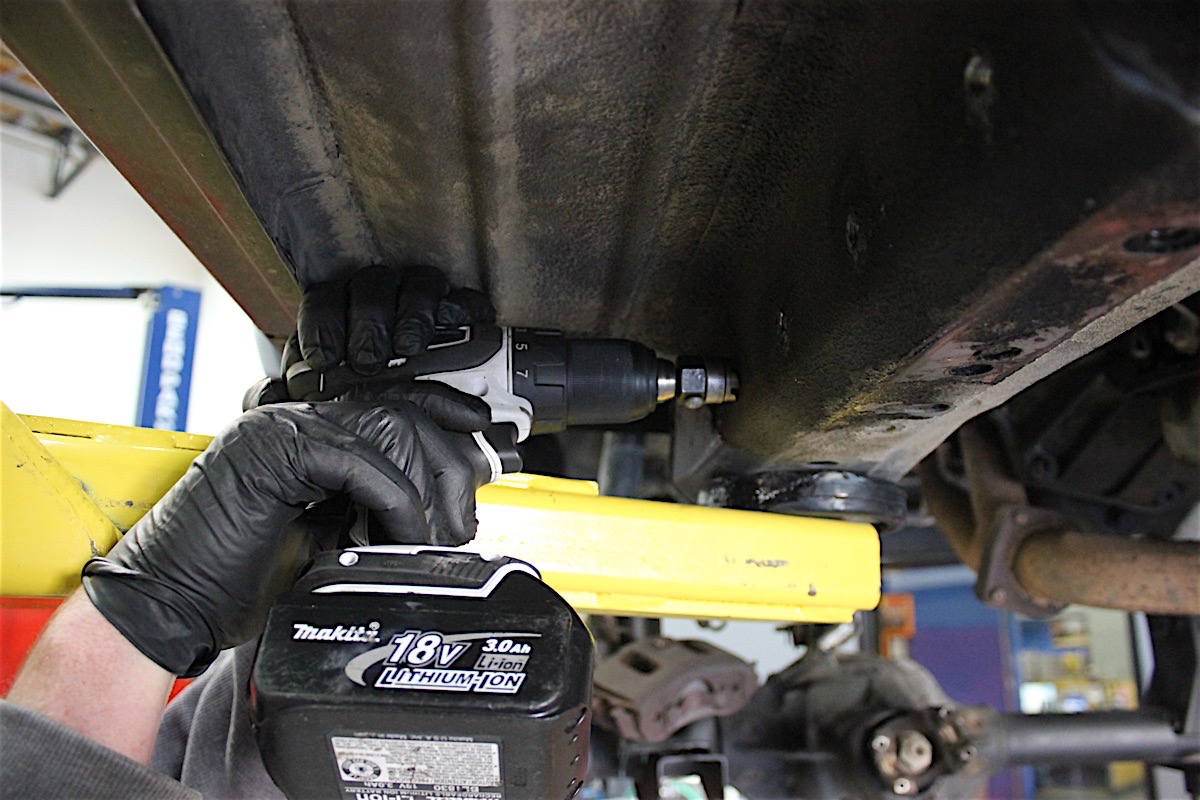
A good idea when installing this kit is to replace any worn parts, since the case will be apart and you might as well take care of the problems now. We removed the output housing, and then we were able to split the case apart. Be careful with the oil pump assembly. Do not take it apart as it is not serviceable.

The transfer case does need to be taken apart to complete the SYE installation.
The output shaft and chain were the next things to go. The new shaft was put together with the drive sprocket. Once everything was cleaned off everything could be reinstalled. We used an RTV sealant on the cleaned case before putting the two halves together.
The speedometer drive gear and snap rings were installed before putting the output housing back on, and installed the yoke and put the transfer case back in the Jeep before continuing on with the lift kit. Both the front and rear drive shafts would be taken care of at the end of the installation.
Starting at the rear with the new leaf packs, we finished quickly. The factory shackles where removed and replaced with new using polyurethane bushings.

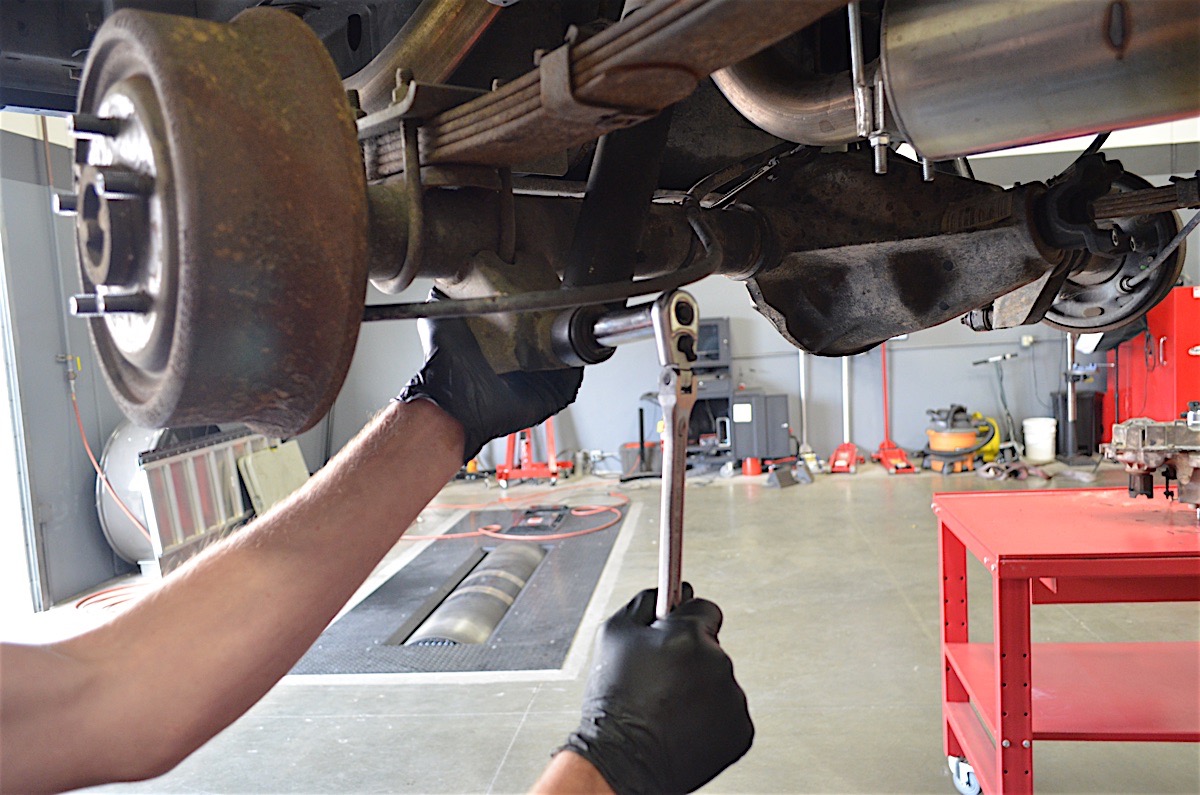
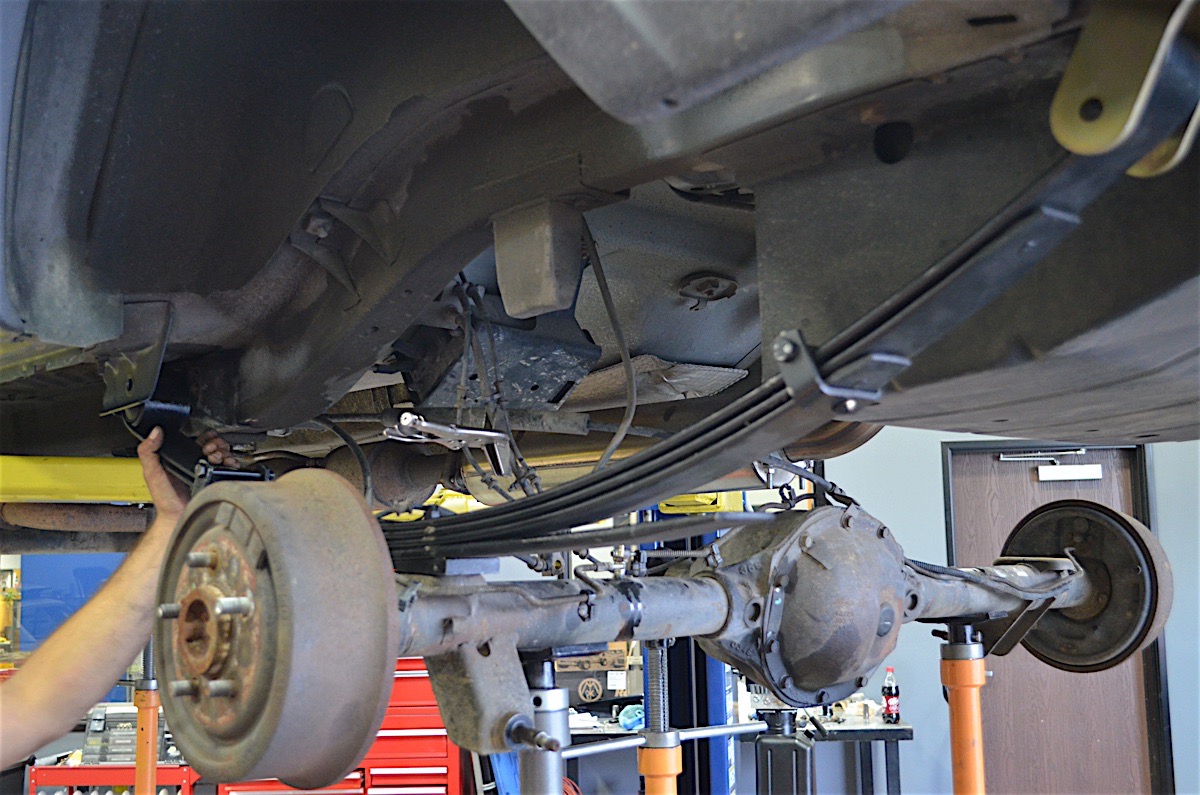
Installation of the rear leaf springs was pretty straight forward. It involved a simple removal of the factory springs and swapping in the new leaf packs.
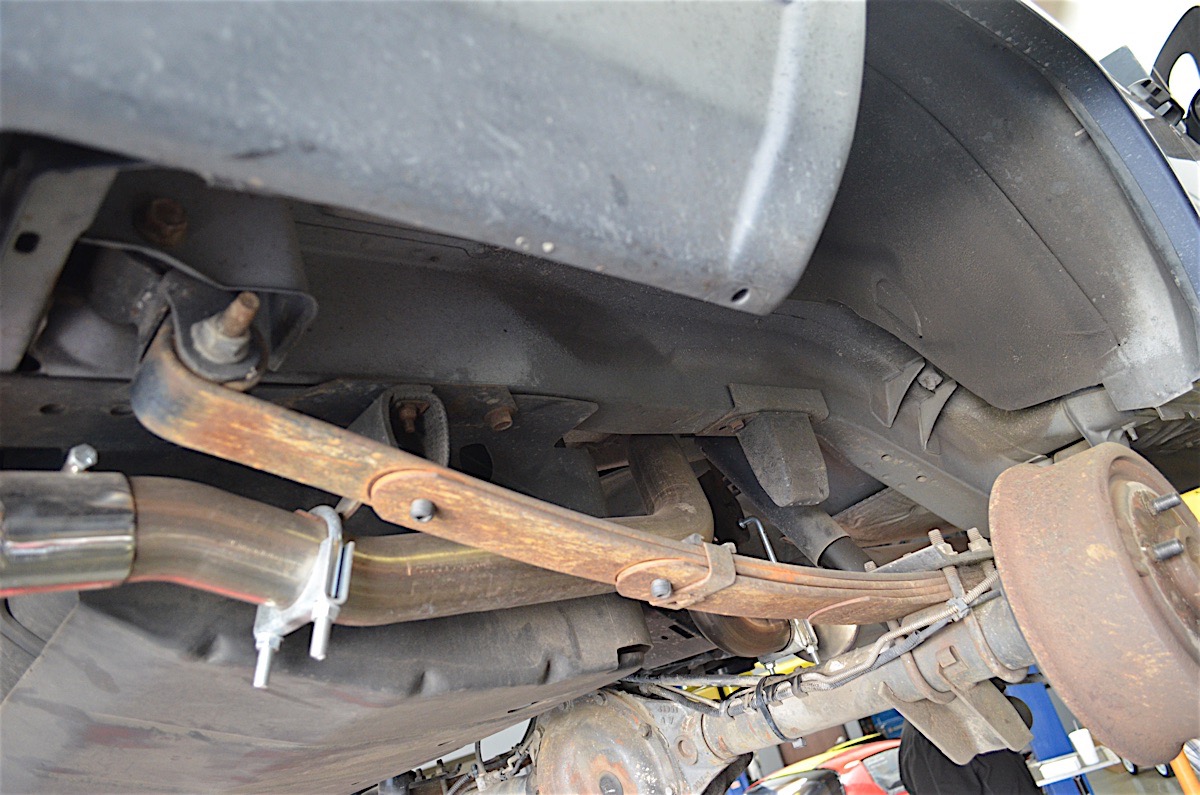
This Jeep had been purchased used, and when it was time to install the rear swaybar end links it was discovered that we did not have a rear sway bar, so we skipped those steps.
With the new shackles hung and the old leafs out, the new leaf packs were attached to the axle with the new U-bolts. A quick coat of paint to clean up the rear axle, new longer brake line, and shocks finished the back half of the project. We could visually see how much lower the rear axle hung compared to the factory set.
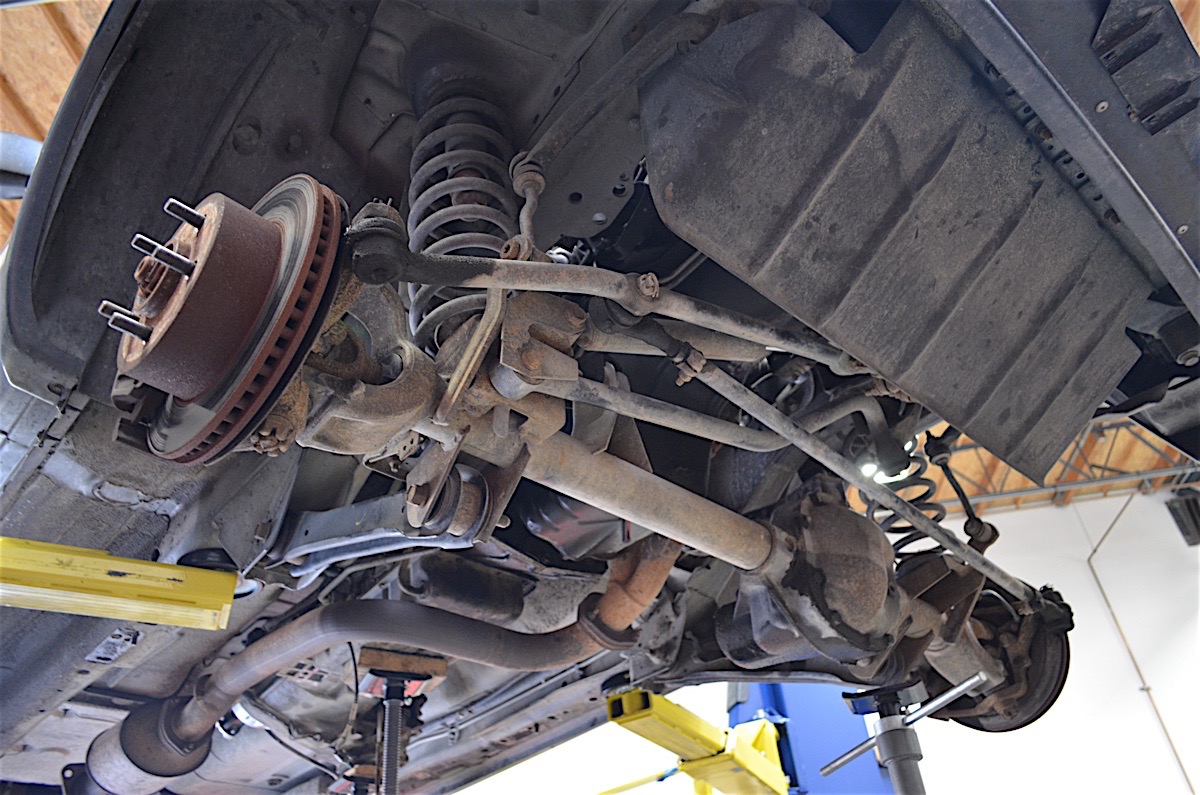
Onto the front end of the Jeep. It is a slightly more complex than lifting the rear.
The front of XtremeJ was going to involve a little more work. Removal of the drag link assembly from the OEM pitman area was first, followed by the removal of the pitman arm. This gave us the chance to install the new Skyjacker pitman arm.
With the bracket cut off using our Miller Spectrum 625 Xtreme plasma torch, we ground down what was left of the bracket to make the area nice and smooth with no rough edges. The kit included a new two-piece bracket to be used for the lower mount. The two rearward slotted mounting holes had to be aligned on the outer bracket with the two holes on the transmission crossmember.
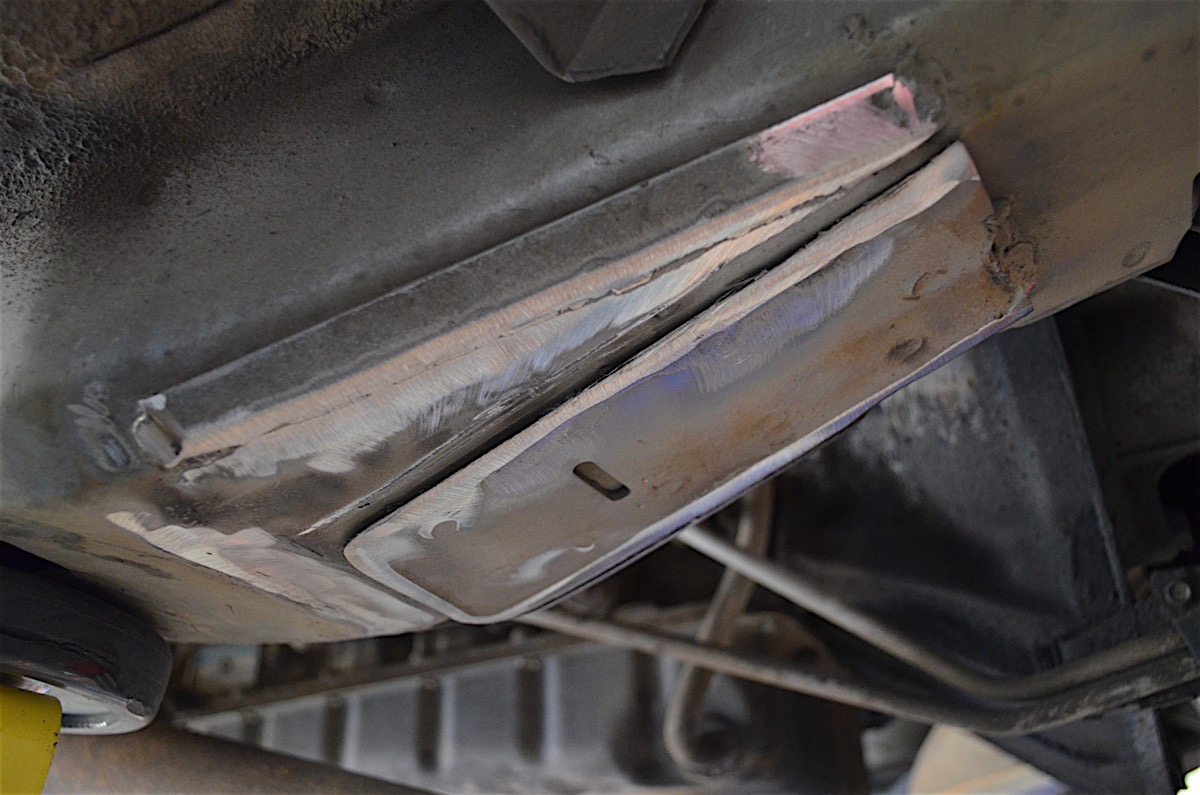
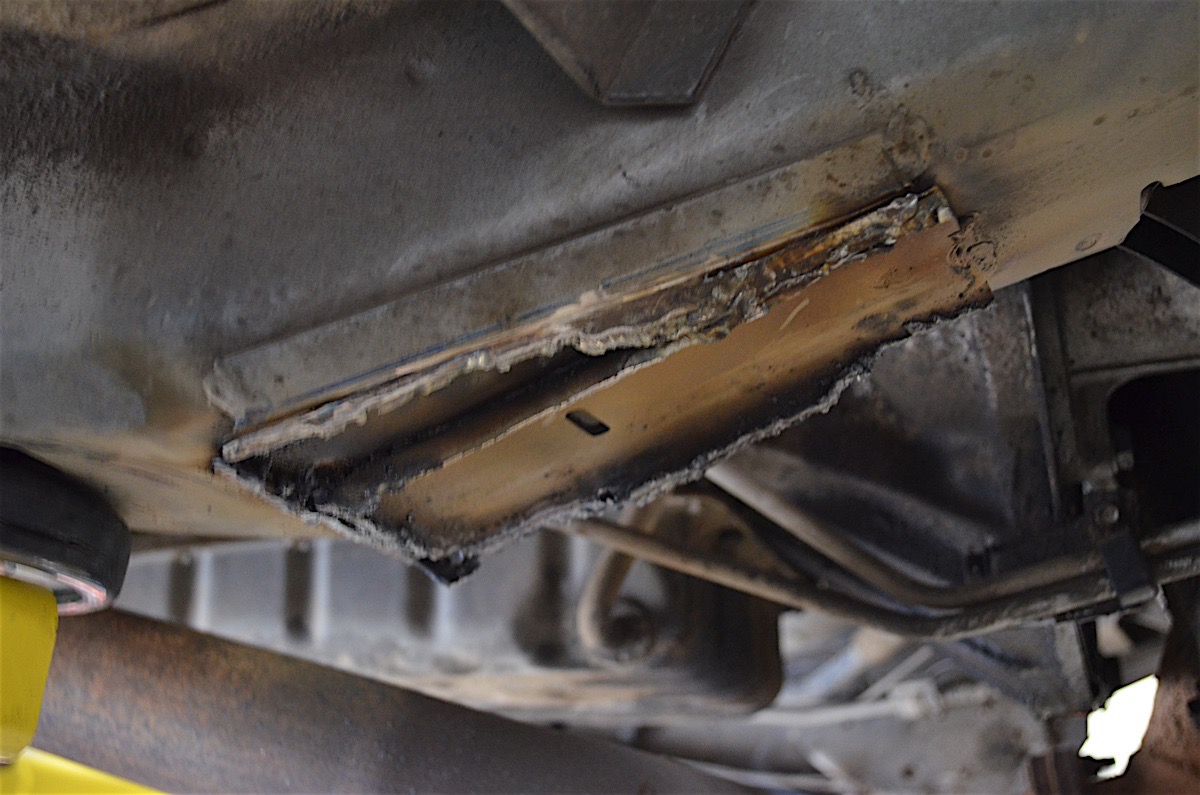
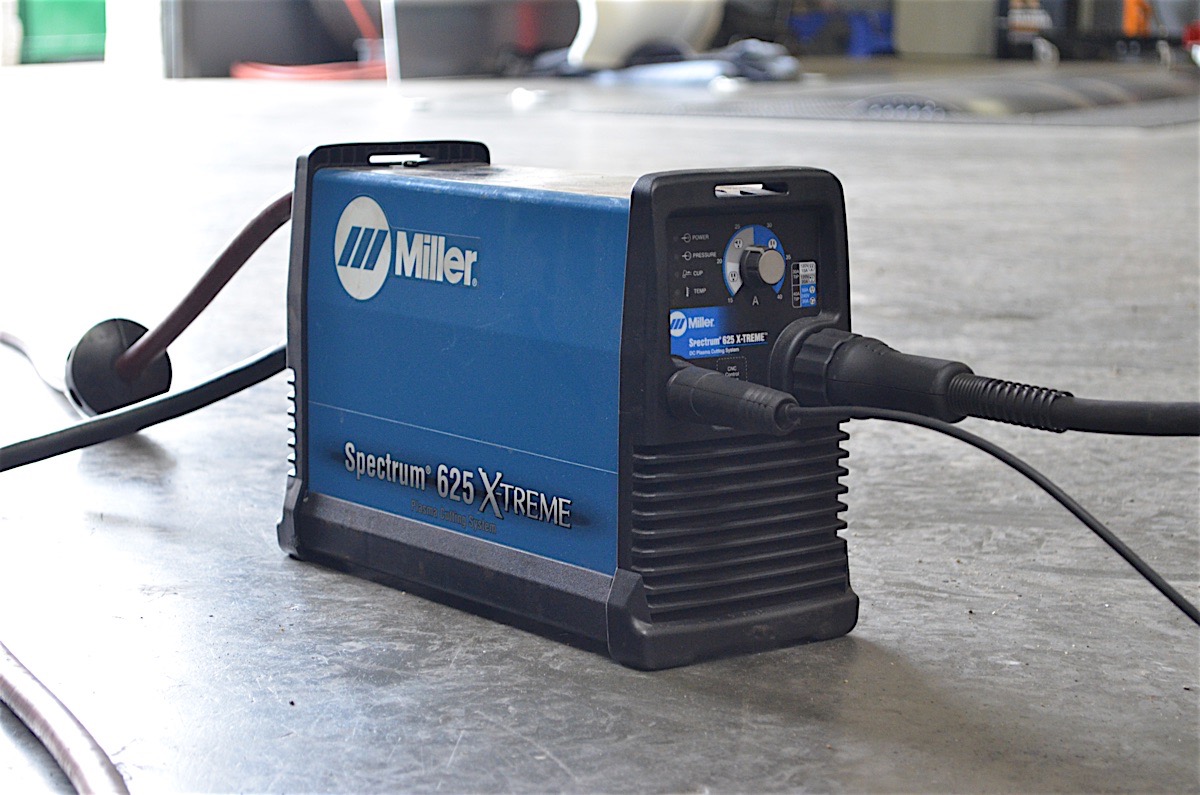
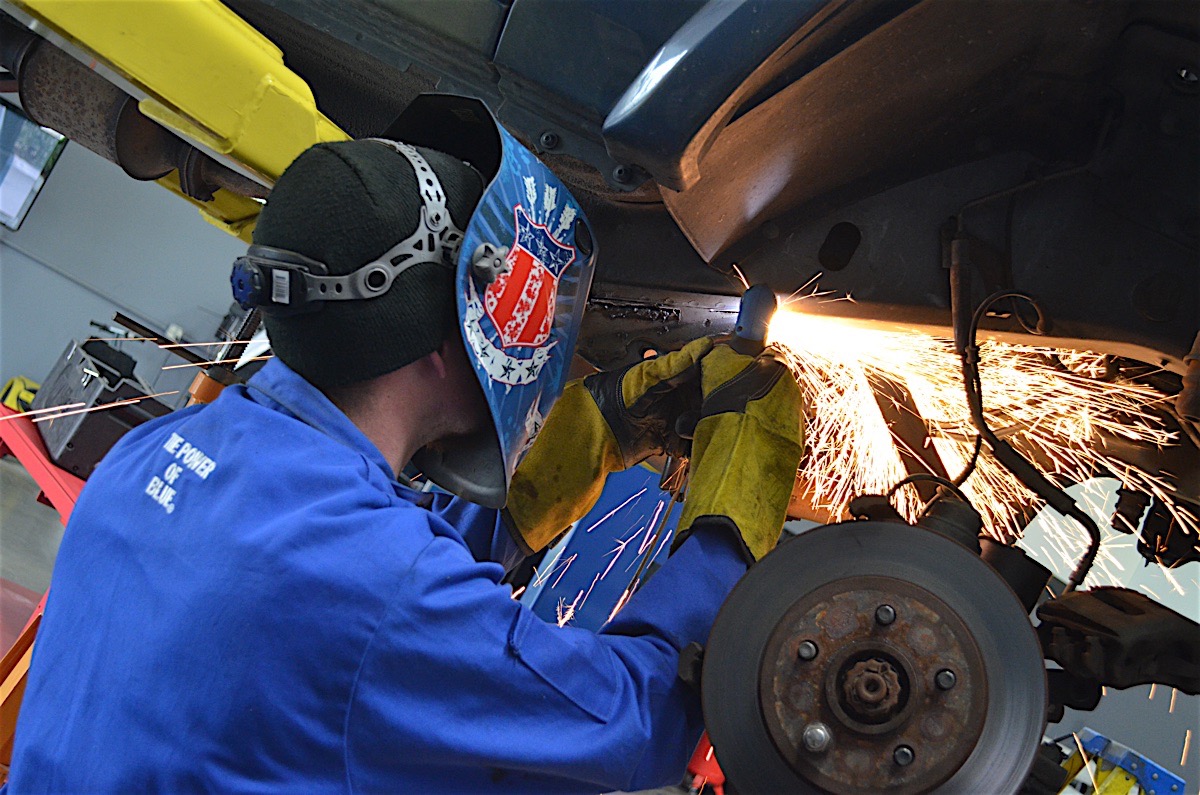
The plasma torch made easy work of removing the factory bracket.
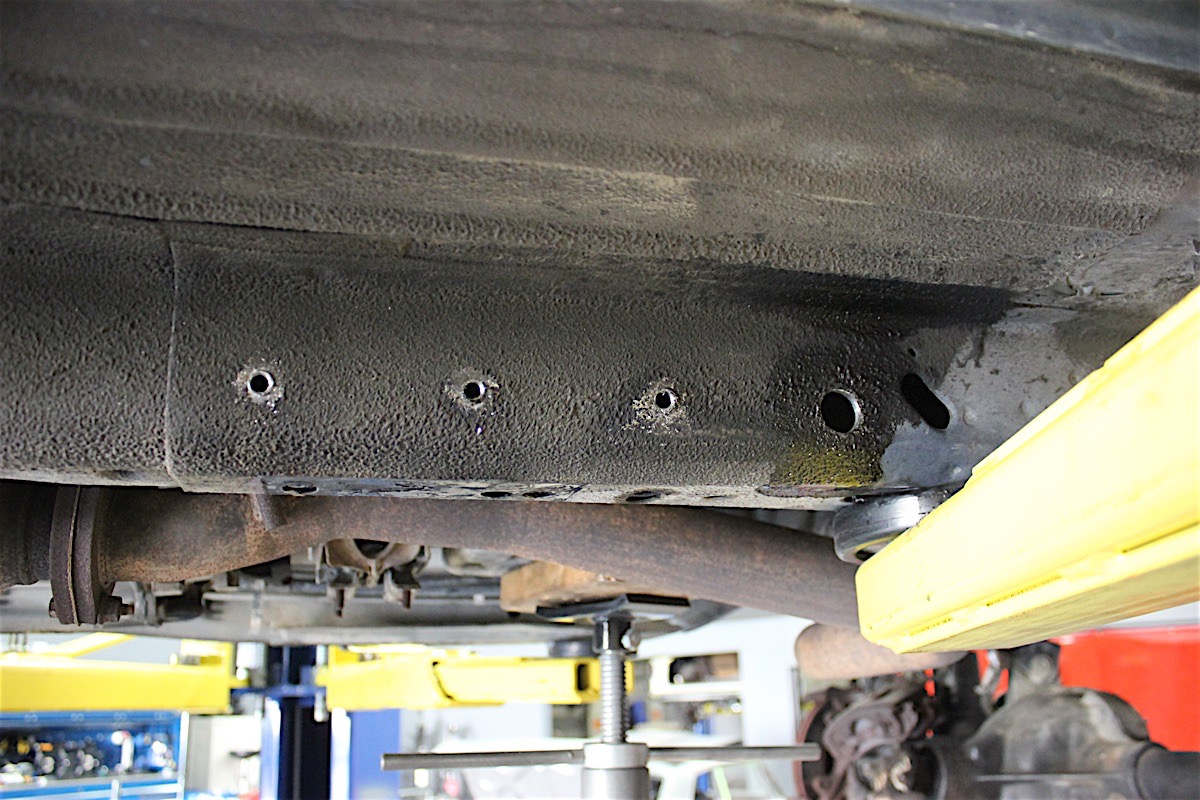
Drilling new 7/8-inch holes for new bolts through the outside of the body gave the mount added support. The inside bracket was attached with the supplied nuts and bolts before a bolt and sleeve connected both brackets together. Before installing the new links, we measured the upper link to 15 3/8 inches, with the lower link set to 29 11/16 inches. These measurements are only to be used to get the vehicle over to a professional alignment shop for final adjustments.

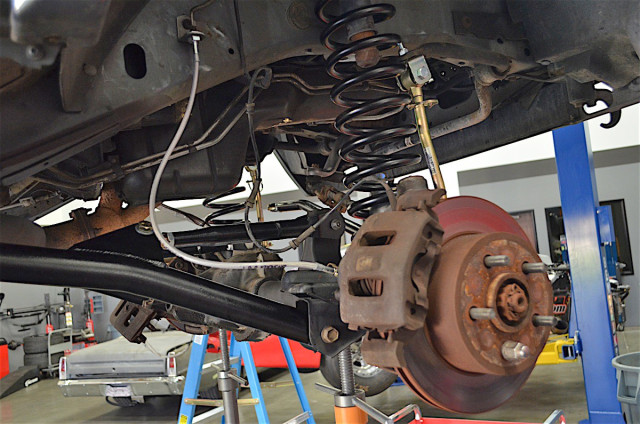
The new longer coils and sway bar end links installed.
The new links went in and we moved to installing the new longer coil springs, which were considerably longer than the OEM set. Once installed, it was time to put in the new Skyjacker adjustable track bar with an adjustable hiem end. The steering stabilizer mounting bracket was also installed at this time over the OEM sway bar endlink stud.
We could see the light at the end of the tunnel. All that was left to do was to install the shocks, sway bar end links, and new brake lines. The last odds and ends took little time, and before we knew it we were bleeding the brakes.

The Jeep was not quite ready to drive yet, as it needed driveshafts, so with the vehicle back on the ground we took measurements and sent them to J.E. Reel Driveline. With the SYE kit installed we measured from center of both U-joints at ride height and full droop. Jim Reel let us know that, “We have to look at other factors when selecting a driveshaft. They include horsepower, tire size, gear ratio, operating angle of the driveshaft, measurements at ride height, full bump, full droop, are there any clearance issues transmission, control arms and links, and so on.”
The measurements help make sure the new driveshafts will work flawlessly for the end goal of the build. It only took a day to get the new driveshafts and then the Jeep was off to the alignment shop.
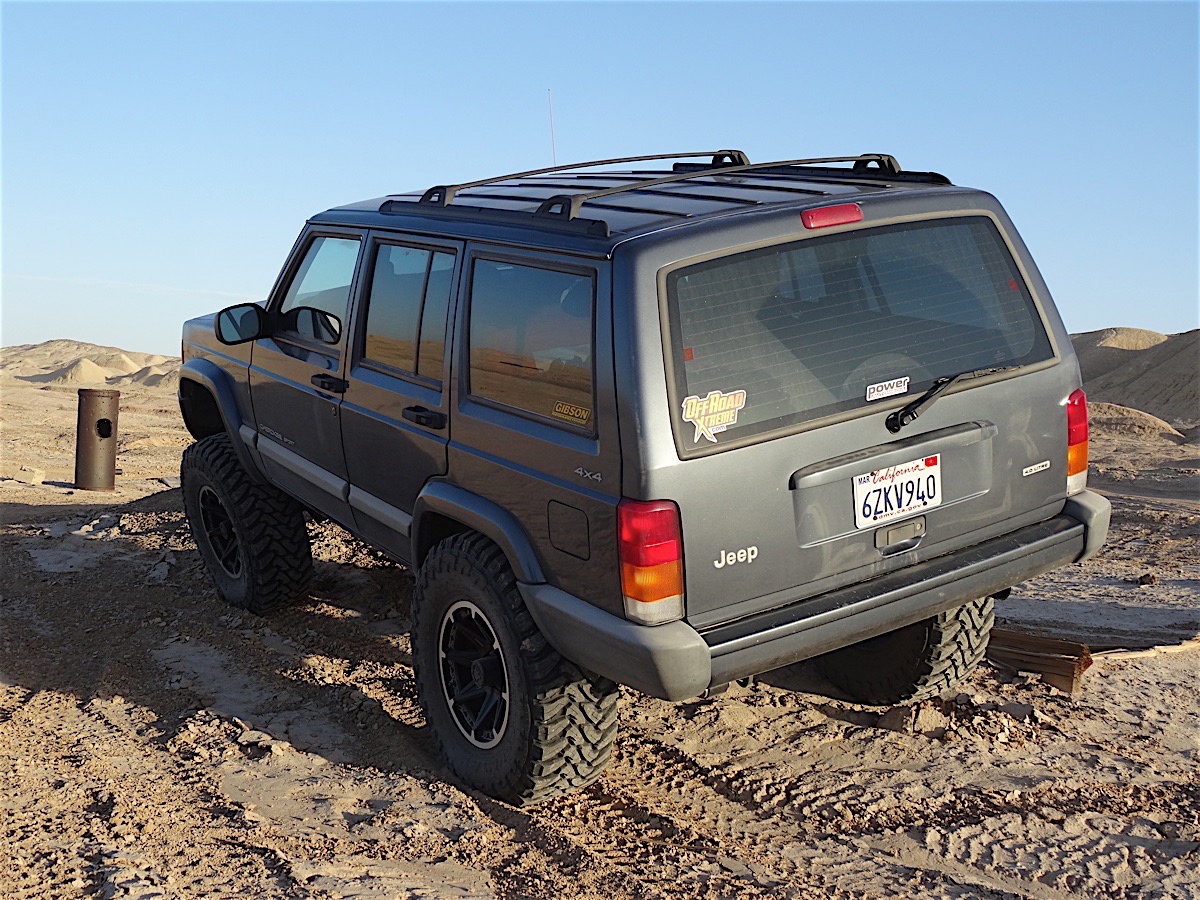
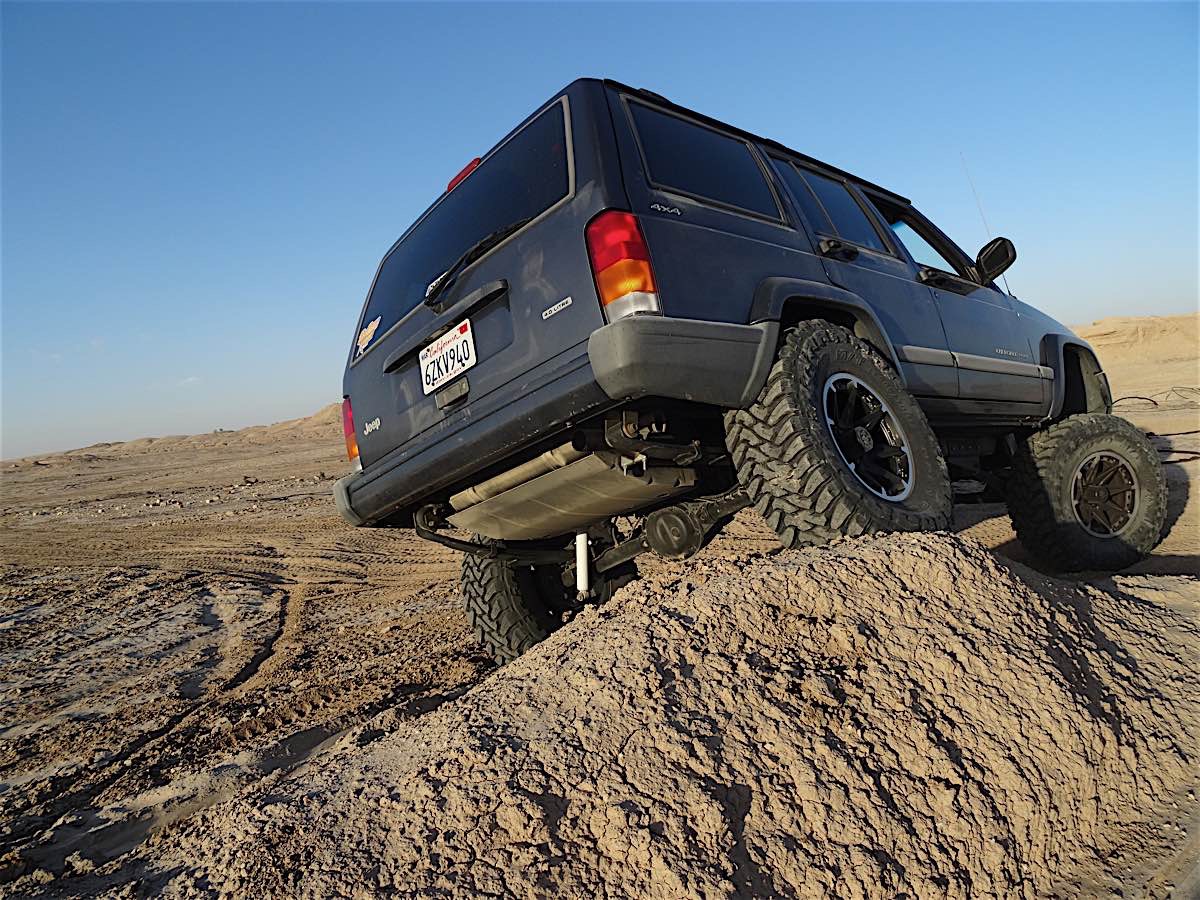
XtremeJ got a new set of Mammoth Wrangler eight-spoke wheels and Toyo Open Country M/T tires. These tires will help give the Jeep plenty of traction when we are off-roading. Check out our full tire review on the Open Country M/Ts.
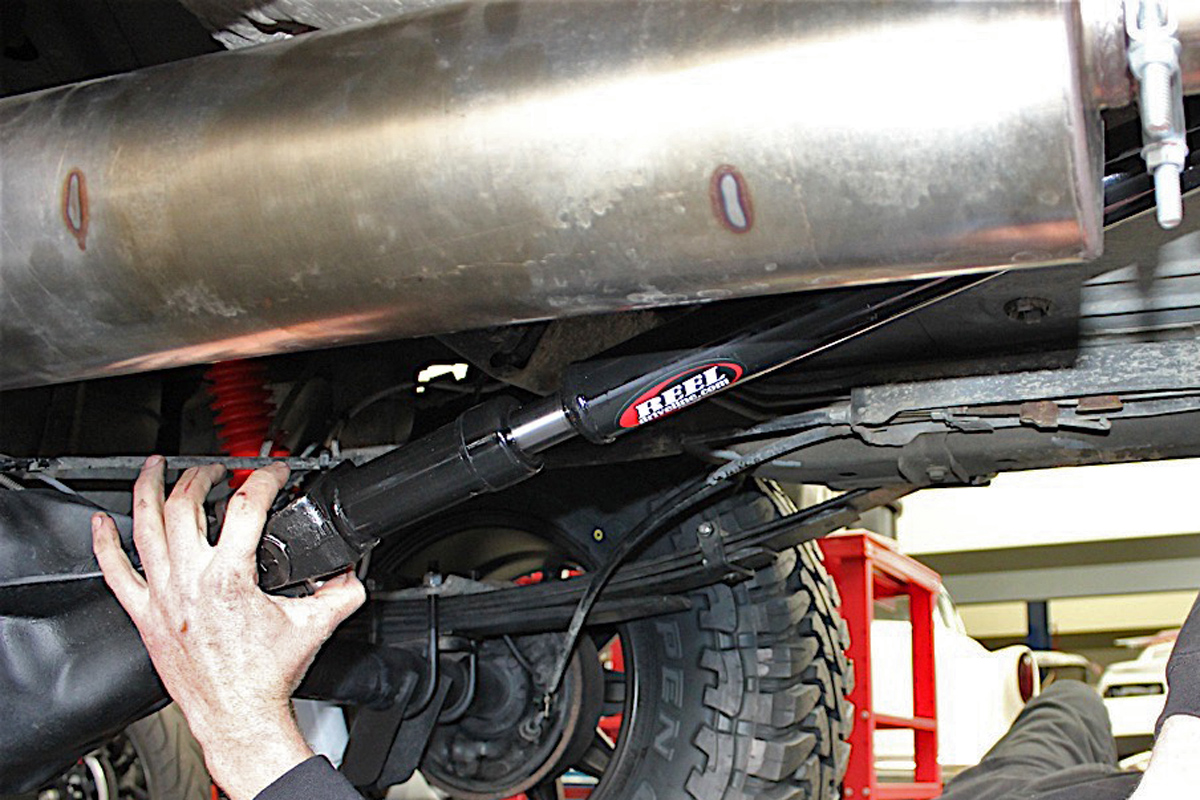
With the new driveshafts installed we would be able to get Project XtremeJ rolling again.
Finding Out The Technical Details
A lift kit is something every off-road build will eventually get, but what makes up the kit is what is important. We spoke with Josh Cooper from Skyjacker to find out more about the lift kit we put on the Jeep and to see what makes this kit unique to the market.
As enthusiasts, our products are put to the test in the field before they are released to the public. –Josh Cooper, Skyjacker

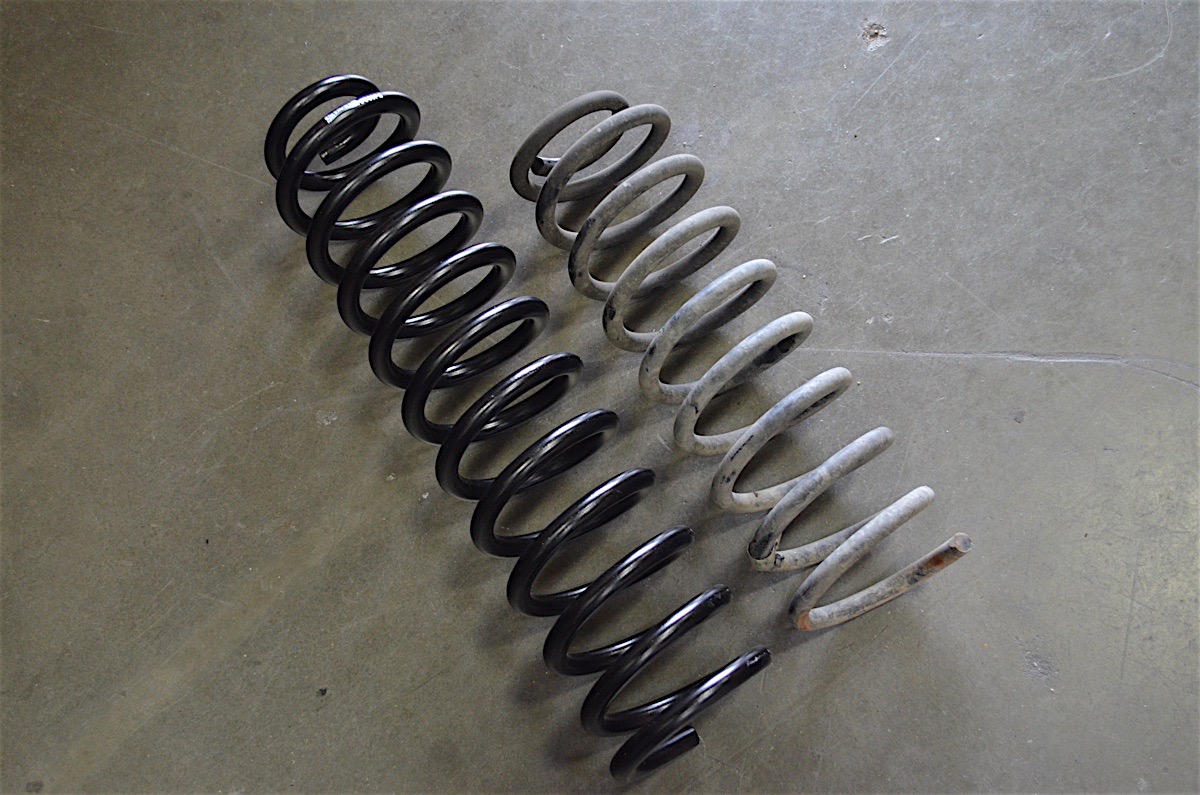
Cooper commented on the uniqueness of Skyjackers 6-inch lift kit, “Our kit features rebuildable rod ends with vibration damping rubber bushings that allow for a better ride. The kits are engineered using CAD software. As enthusiasts, our products are put to the test in the field before we release them to the public.” Comparisons between the factory springs and pitman arm with the Skyjacker replacements.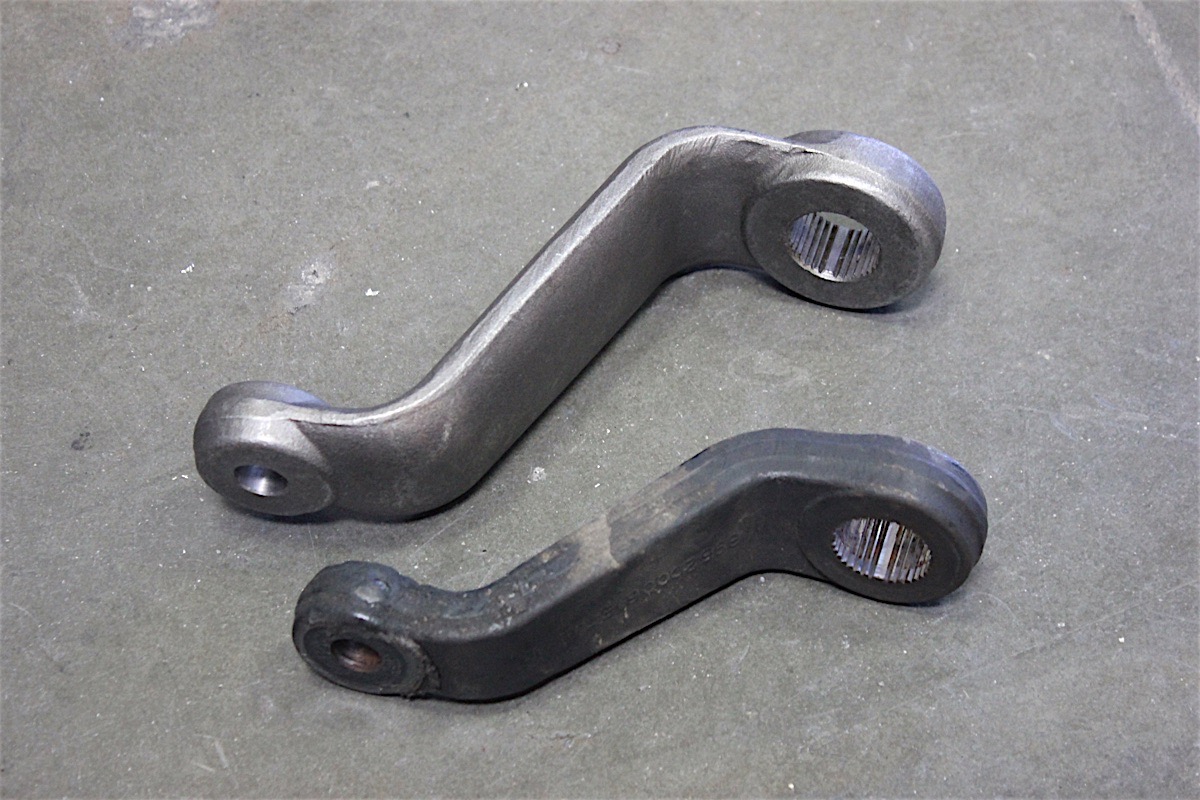
Lift kits are meant for all types of off-roading, but, “This kit is designed and engineered for recreational trail riding,” explained Cooper. The kit is not meant for racing King of the Hammers, but will get the job done on the weekends.
Lifting a vehicle plays a huge part in the tire choice and this, “Kit can clear 33-inch tires with stock fender flares and 35-inch tires with cut fenders,” Cooper mentioned. Our 33-inch Toyo’s will have no clearance problems on the Jeep. According to Cooper this kit is meant to provide more ground clearance and improved articulation for rockcrawling and trail riding; exactly what we needed to tackle those weekend expeditions out on the trails.
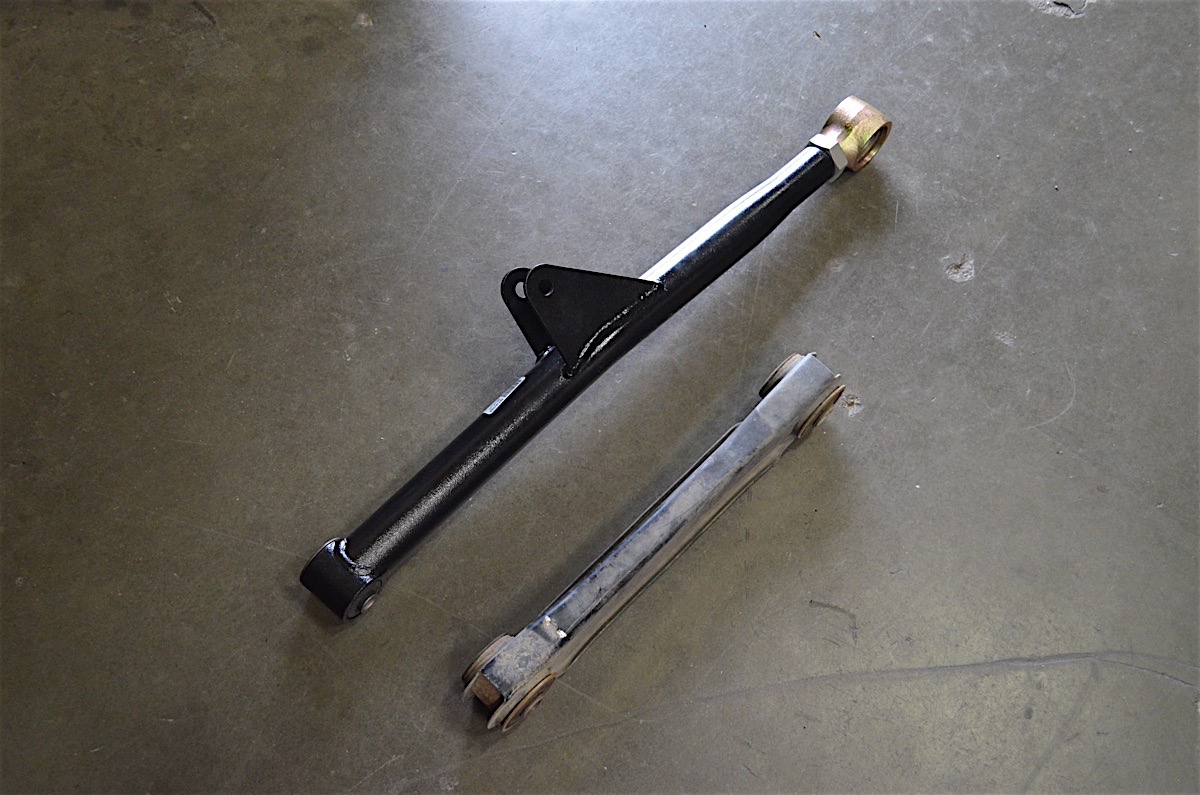
The new Y-arm setup compared to the factory arms.
Knowing that our Jeep would still be a daily driver it was important for us to know how the kit would handle on the pavement just as much as on the dirt. Cooper let us know that the kit was designed for optimal handling both on and off-road. With the lift kit installed and knowing exactly what the kit could do, it was time to button up the install and get it on the trail.

Finishing up the last leg of the install.
Final Thoughts
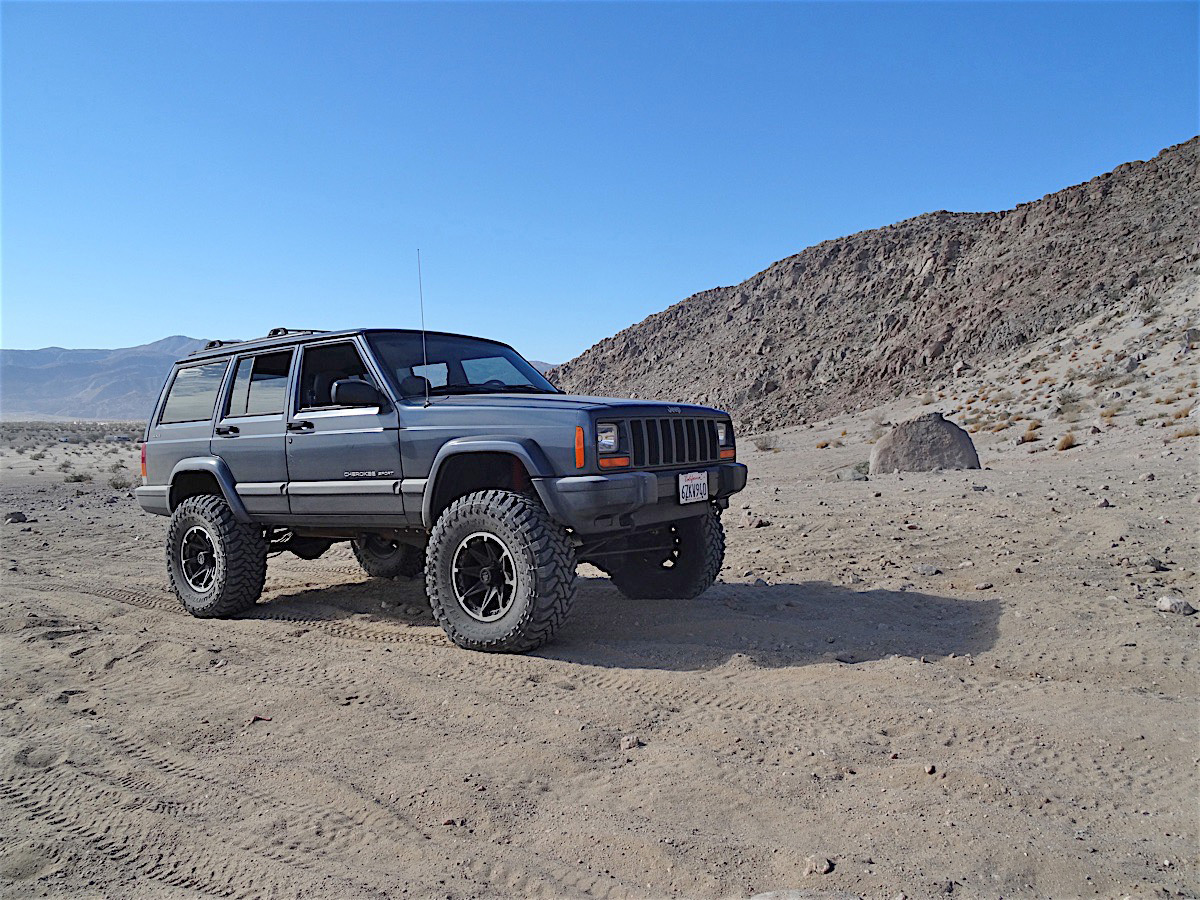
The kit went together really well, but we do think it would be challenging to install in the driveway. Installing the kit in the shop with the lift made it a lot easier to get everything on. We are very pleased with the lift this kit provides and the capabilities that have been unlocked when it comes to trail use and mild rock crawling.
We spoke to Kevin McIntosh to get his impression of how the Jeep handles with the new lift installed. “The stock suspension on the Jeep Cherokee was shot. The bushings, leafs, and struts were all original and completely worn. It had little life left in it and felt more like driving a 1950s cadillac than a Jeep. “
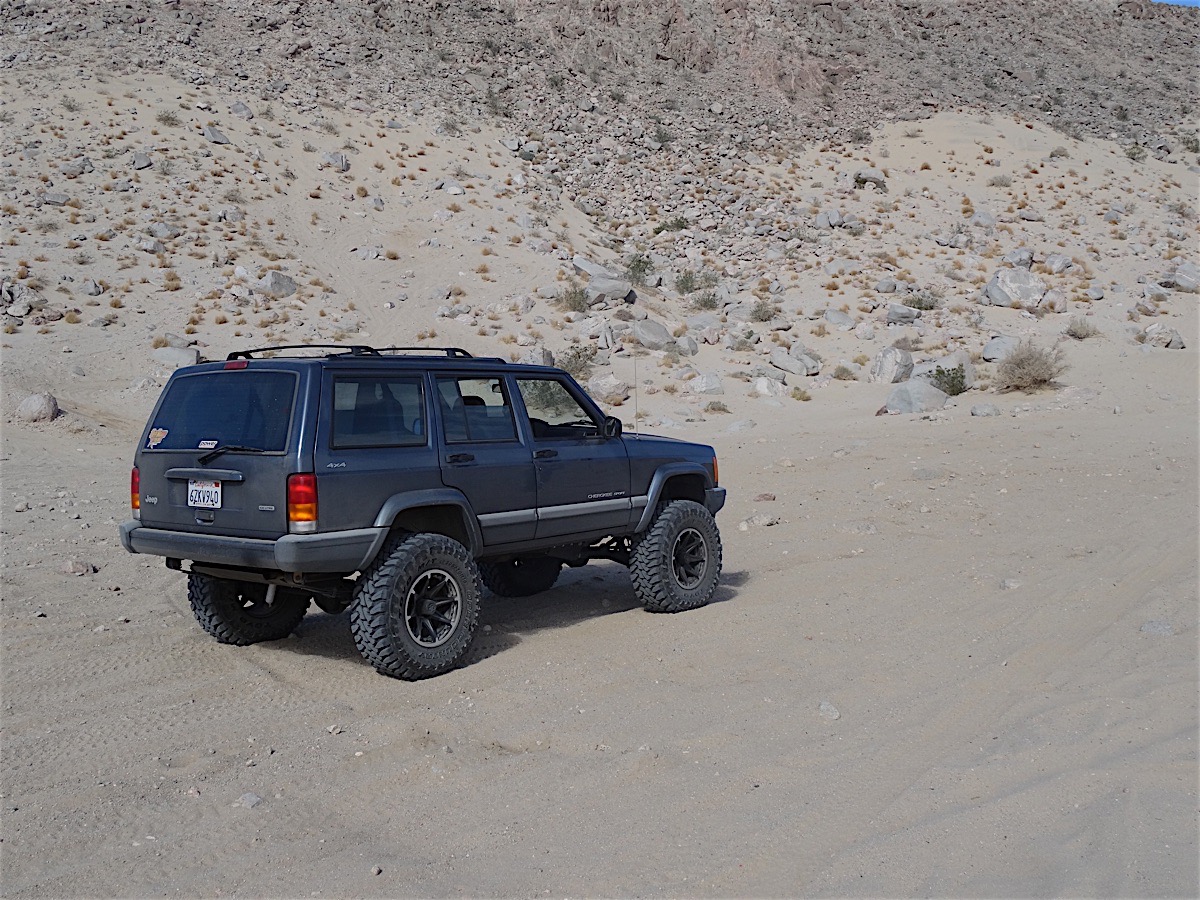
The new lift has been put to the test since being installed.
Kevin could really tell the difference with the new kit, “Upgrading to the Skyjacker 6.5 inch lift system proved to be a night and day difference. The Cherokee also exhibited the dreaded death wobble at about 55 mph. This was no longer an issue after installing the lift, wheels, and tires. The Skyjacker suspension gives the Jeep a nice, stiff street ride while providing a smooth, gliding driving experience off-road with the sway bar disconnected. Once off-road, you get the feeling there is really nowhere you can’t go, with plenty of ground clearance, good suspension travel, and a much more capable articulation angle over any stock setup.”
With the combination of extra ground clearance and more articulation, this suspension will allow us to enjoy more trails that we would not have been able to otherwise. We look forward to continuing to add to the Jeep and turning it into the perfect mixture of daily driver and rockcrawler.


