In prerunner builds, folks usually focus on the front half of the truck, installing bigger shocks, new control arms, and steering. The back half of the truck is often forgotten about and put on the back burner.
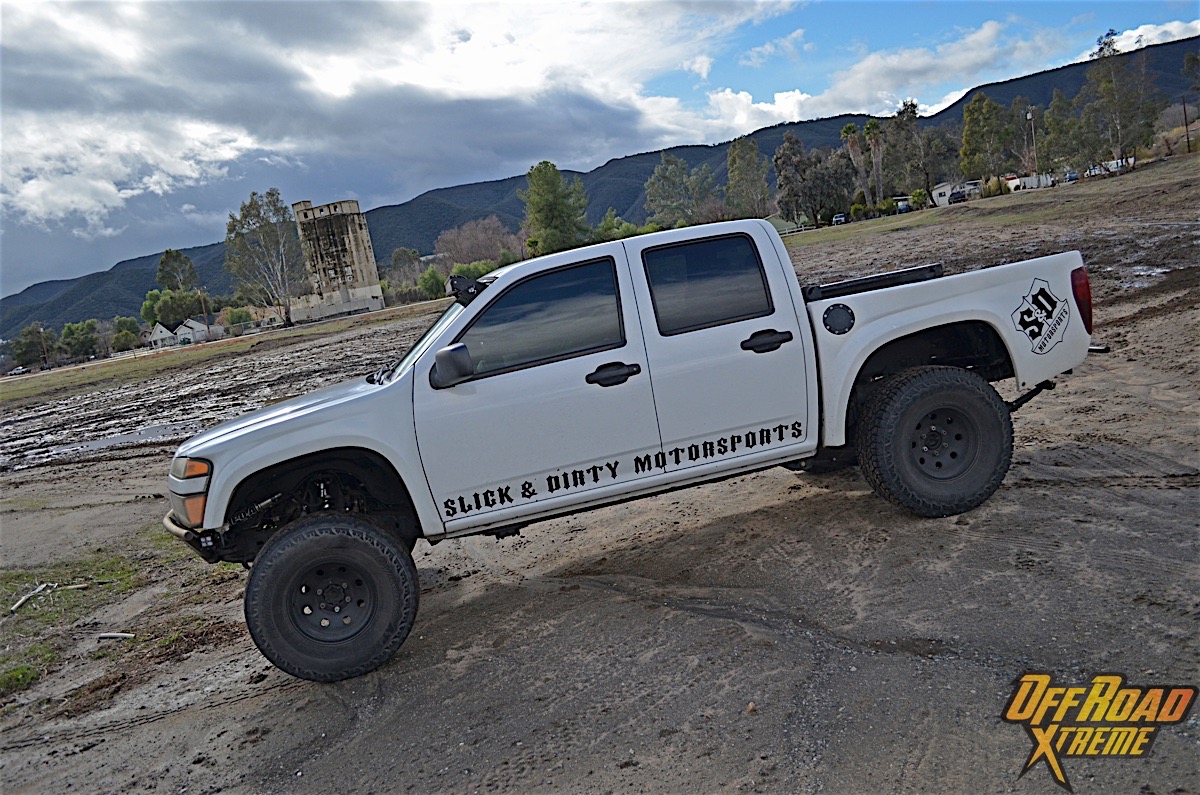
When the front of a truck has more suspension travel than the rear, it outperforms the back of the truck, which could cause trouble when off-roading. We have found this to be the case with Project Storm Trooper our 2005 GMC Canyon.
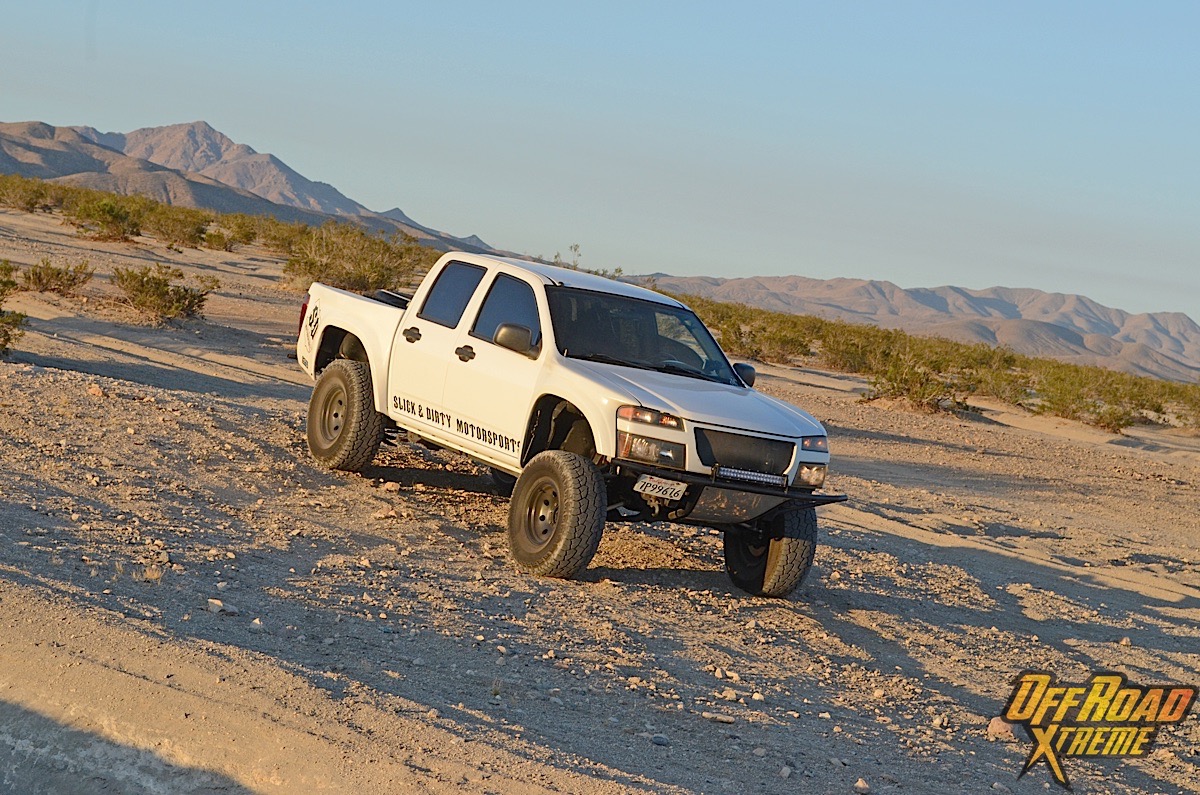
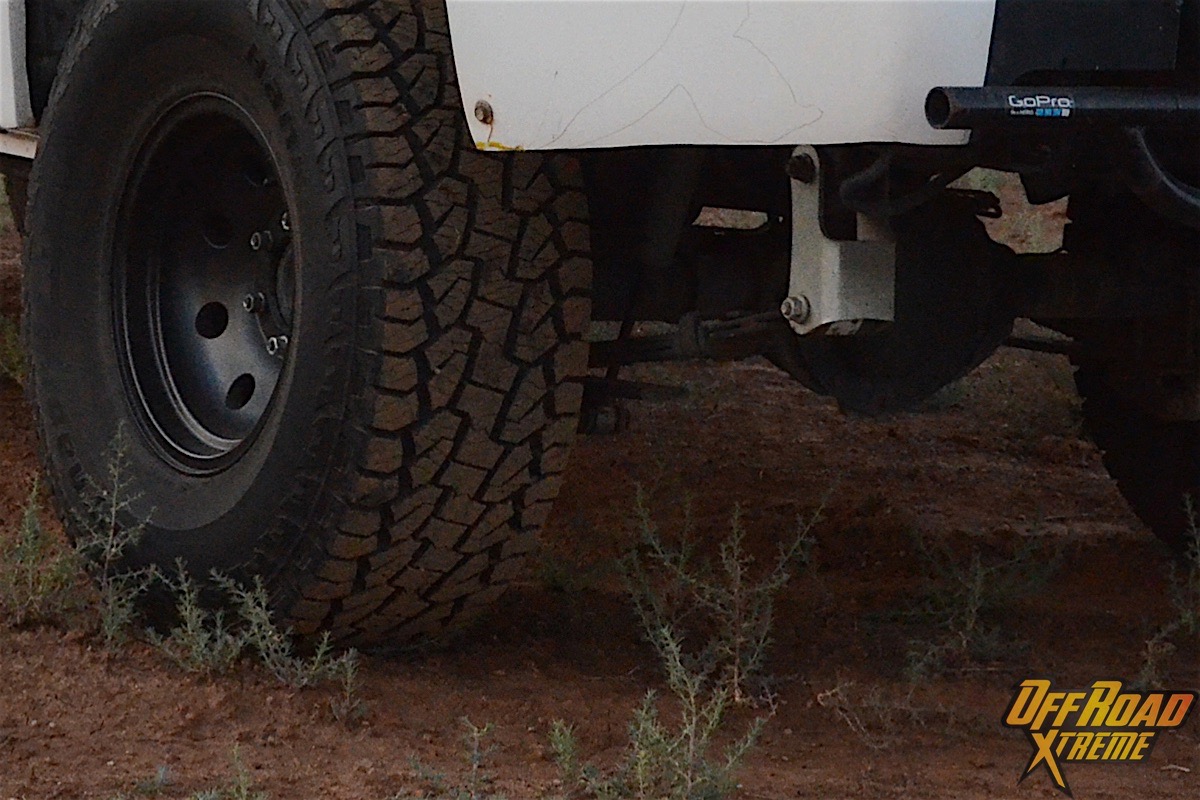
The truck has a mid-travel suspension setup and around 10-inches of wheel travel up front with minimal modifications done to the rear. Up until now the rear has only had an add-a-leaf and longer shackle.
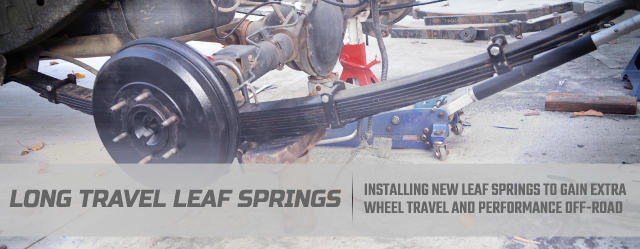
The time has come to install a new set of leaf springs, but not just any set of leaf springs. We installed Atlas Suspension performance springs for a 2004 to 2012 Chevrolet Colorado and GMC Canyon. These springs were designed for the truck, so it will make our install a lot easier.
This install will be the first of a two-part series, with the addition of bypass shocks and a bed cage later down the road. For the time being, we would retain the factory shock locations and lift shocks. Yes, we know this will limit wheel travel, but it is only for the time being.
A lift shackle and add-a-leaf was not the most comfortable off-road ride, so we’re looking forward to getting the new leaf packs installed.
Driveway Installation
We wanted to show that installing long-travel leaf springs does not require a professional shop, and is a job that can be done in the driveway at home with the right tools. This install is not for the faint of heart, however, as there is a lot involved including plenty of cutting, grinding, and welding.
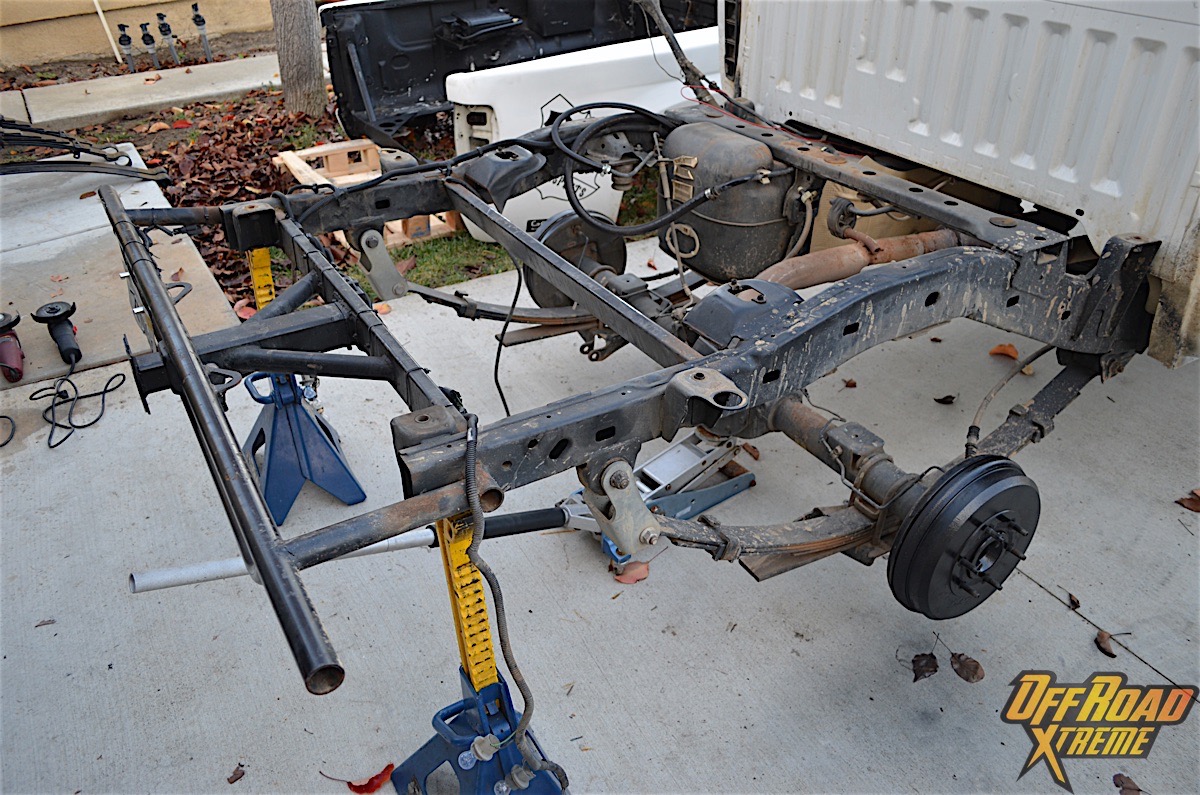
First thing’s first: We removed the bed of the truck for easy access to everything underneath. With the help of friends we had the bed unbolted, lifted, and placed to the side.
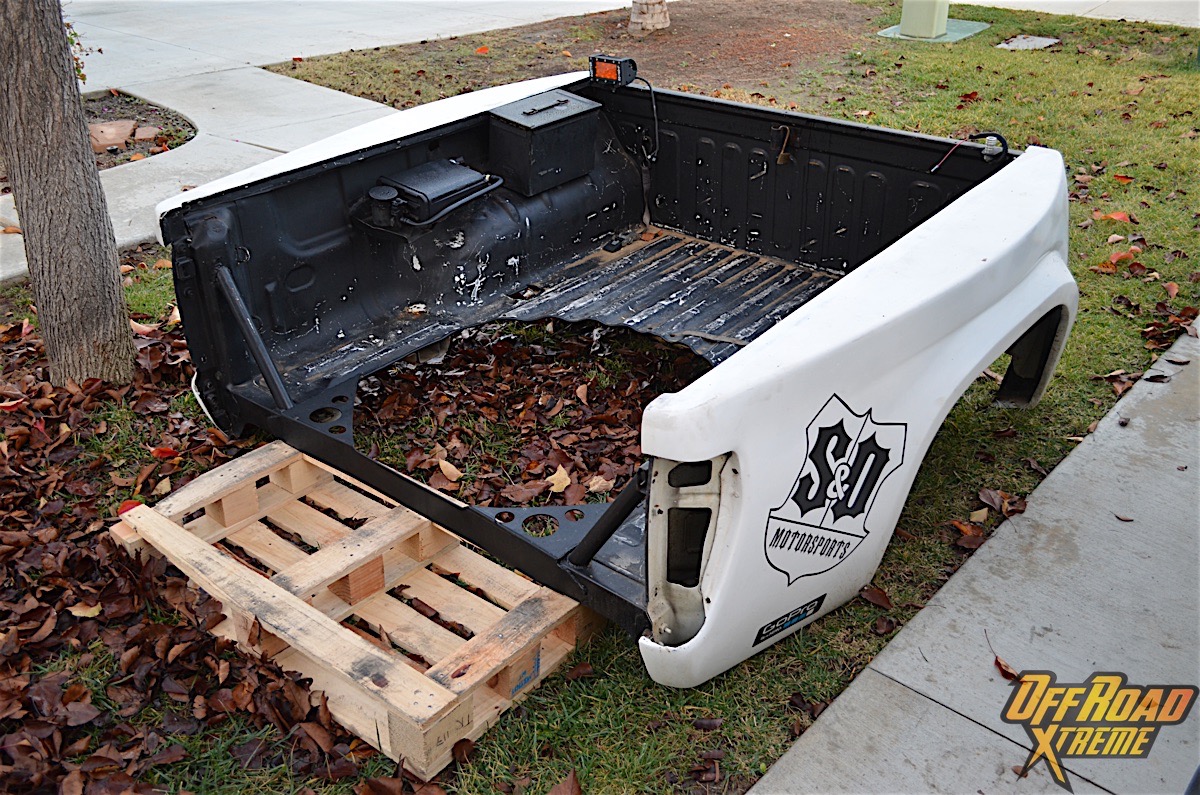
With the bed removed, we had easy access to the frame.
Now it was time to get down and dirty. Frame stands supported the back half of the truck as the tires came off. You could see that the factory springs and lift shackle held the axle high off the ground, limiting the suspension travel.
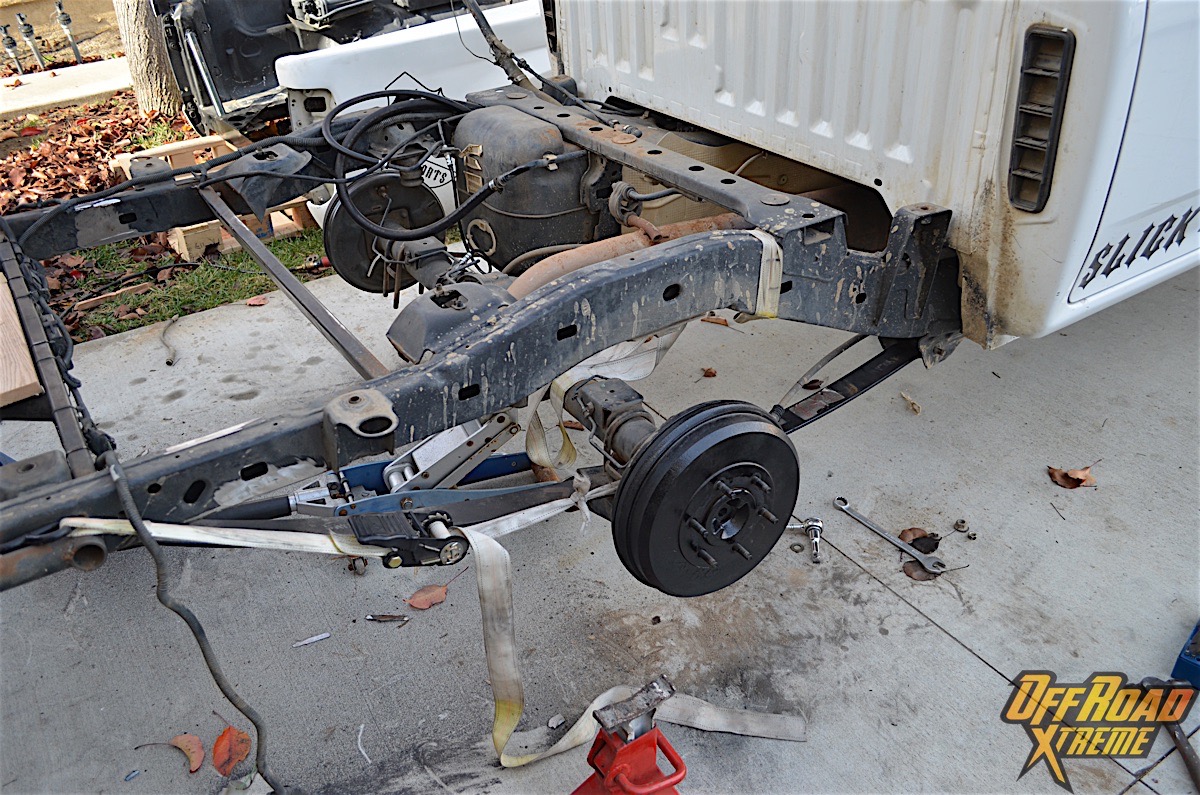
One thing to note when drooping the suspension is the rear brake line. It was not happy being stretched to its limits with the current setup. We replaced it with a longer, steel braided, 24-inch line, which gave the line plenty of slack, even with the new springs going in.
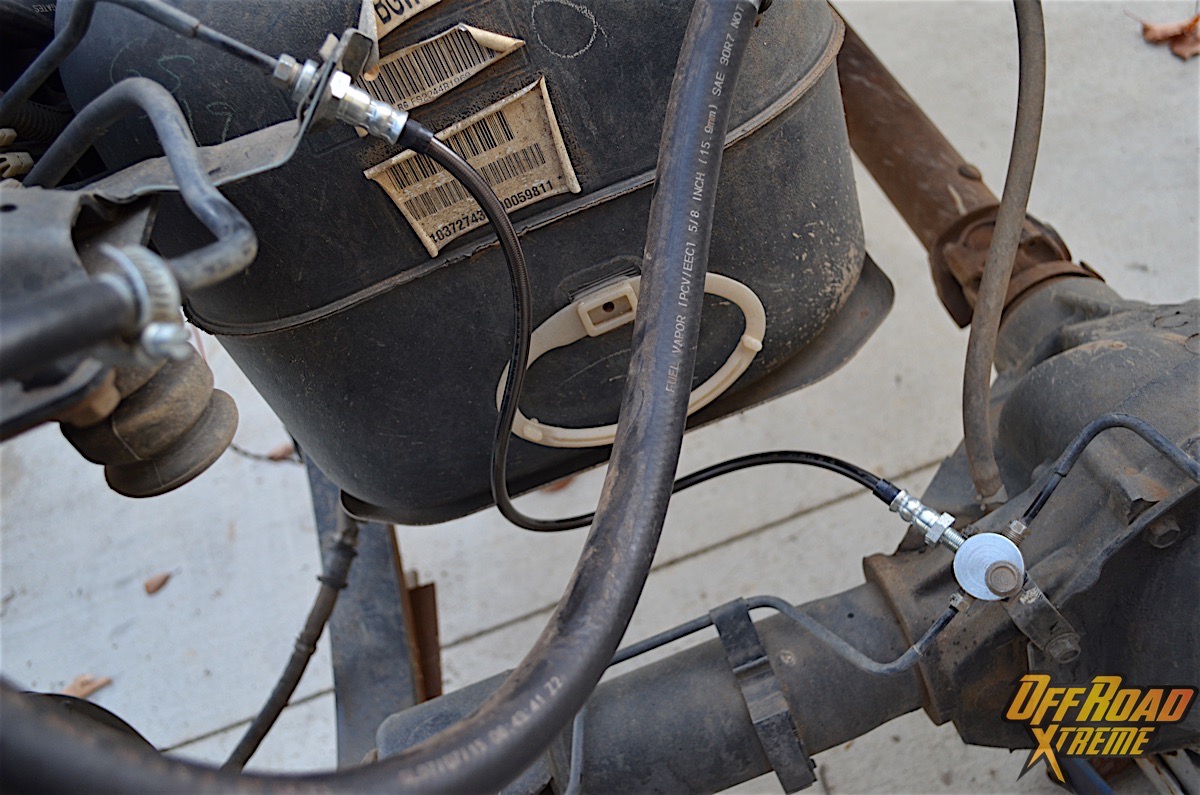
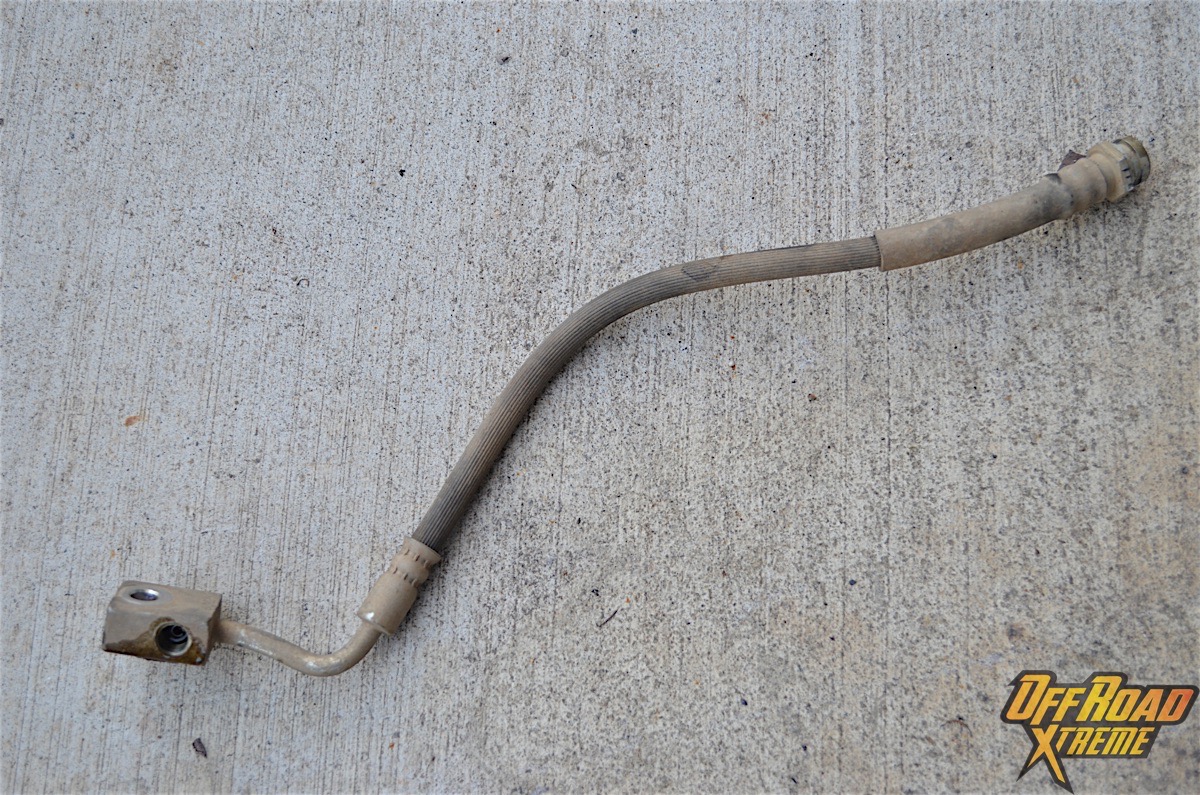
Our factory brake line was not going to cut it with the added wheel travel, so the addition of a new steel braided line was needed.
To set up the new springs, we would need to cycle the suspension to figure out the rear shackle mounting location. This meant we needed to get the main leaf out of the spring pack to make it easier to compress the springs, and figure out mounting spot.
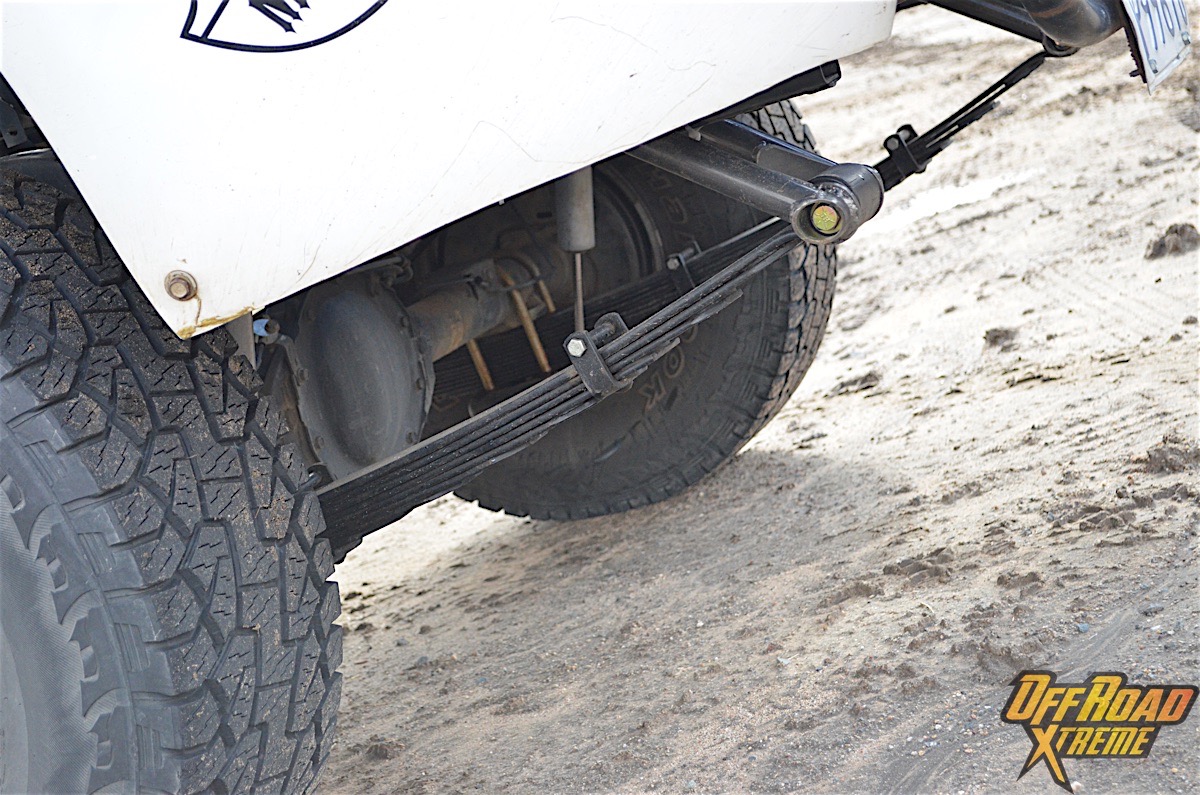
The old springs came out with little effort and were compared to the new springs to see how different they truly were. The factory springs measured 52 inches, while Atlas’ springs measured 60-inches. With one side out, we were able to slide the main spring in.

From a five-pack to a 10-pack, the new leaf springs visually appeared to offer more support.
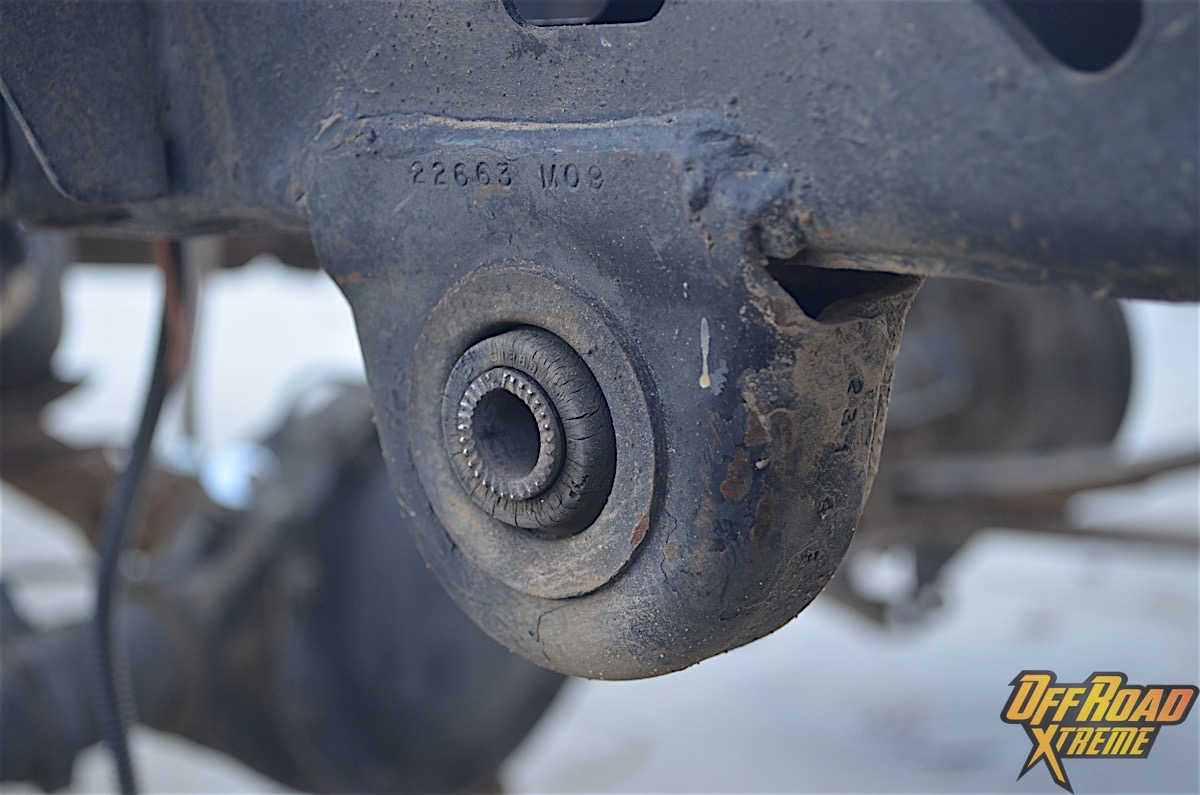
Since these springs were designed for our truck, we retained the front spring mount, and drilled out the center pin hole on the axle to fit the center pin on the new springs.
With two out of the three mounting locations figured out, it was time to calculate the missing link – the rear shackle mount. Relocating the shackle to the top of the frame gave the mount added strength and would allow the suspension to cycle correctly, with the use of a 12-inch shackle to compensate for added distance.
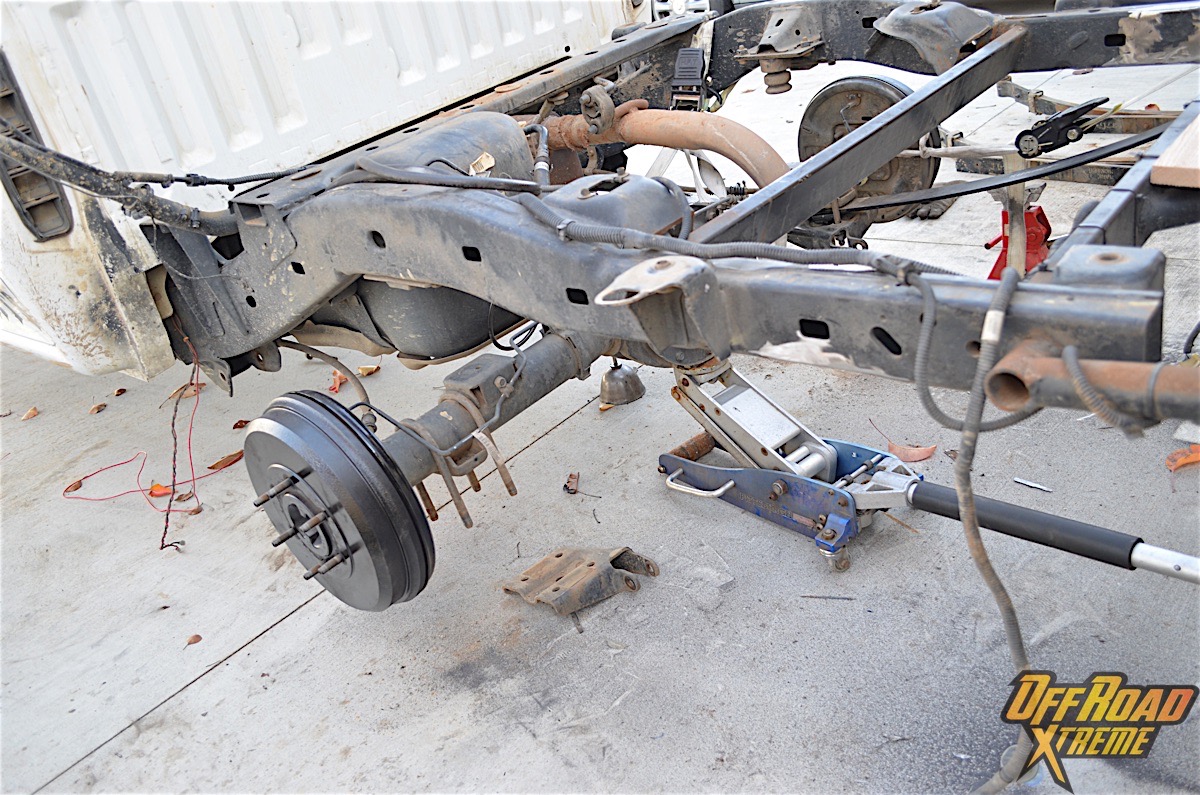
The factory shackle mount had to be cut off to make room for our new one.
To determine the new mounting location, we bumped out the suspension, pushing the rear axle to where it would hit the bump stops, which was also where the leaf spring was completely flat. Adding a piece of wood between the frame and spring ensured the leaf would not hit the frame at full bump.
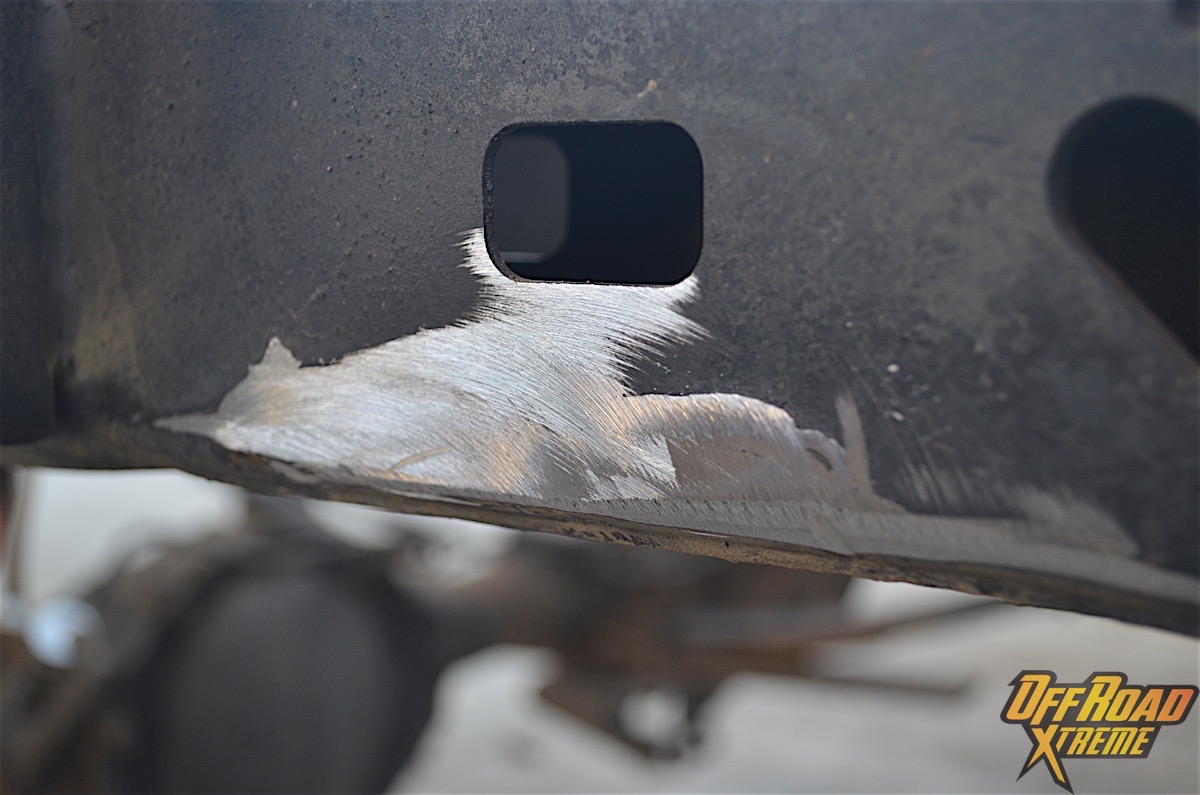
With the leaf spring resting on the block, the shackle was attached to the spring and moved until it hit the frame. We did run into a problem with the inside shackle on both sides. We had previously welded a crossmember that tied into our receiver and rear bumper, but it was restricting the shackle from mounting correctly.
After cycling the suspension, we discovered that we would have to cut off more than we anticipated.
We started by using a grinder and cutoff wheel, but it was an arduous task that was just taking too much time. It was time to pull out the plasma torch and make quick work of cutting out the crossmember and part of the receiver.
The location for the shackle was marked and measured on both sides to comfirm the axle was square. Recessing the mounting location would also give us a little more lift out of the springs. Since the plasma torch was out, we decided to cut the frame with the torch as well.
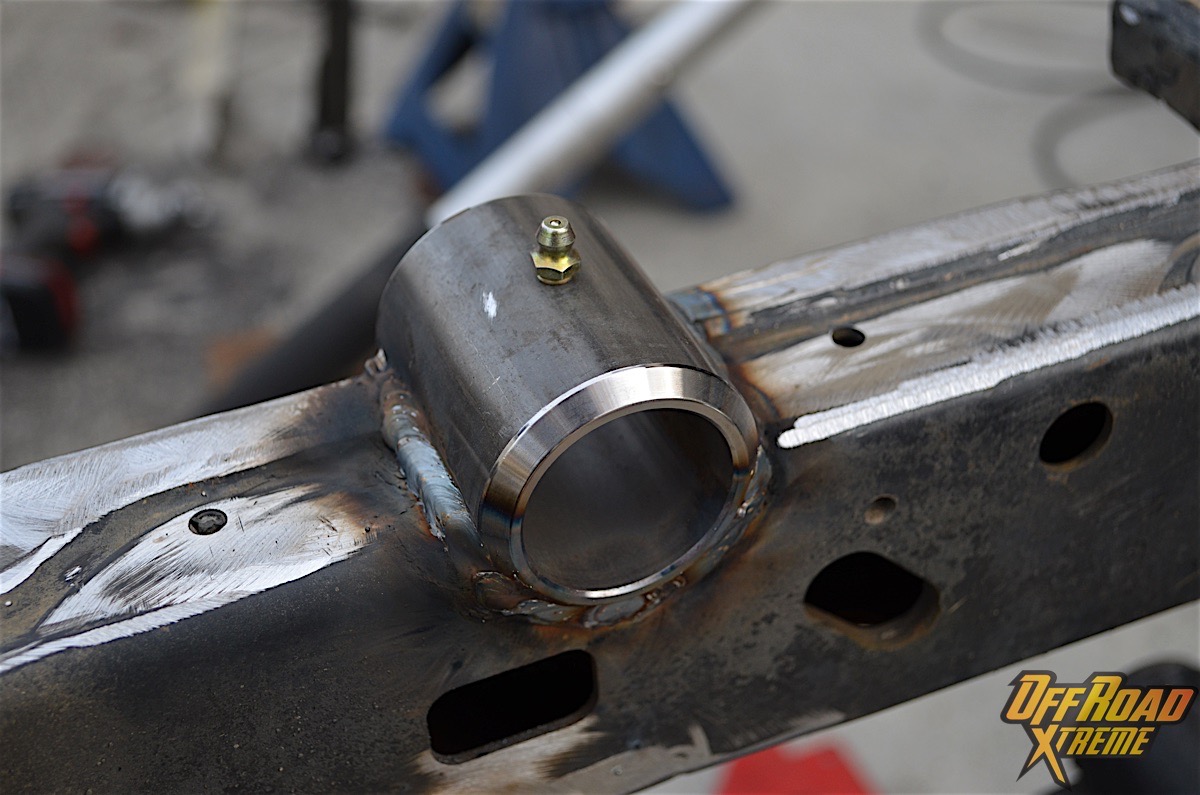
The new upper bushing tube was welded in place.
Bushing sleeves were placed and tacked in before we cut a strip of metal to wrap the bushing for extra strength. These bushings did come with a grease fitting, so we made sure that it was accessible and not covered by the bracing.
Once everything had a chance to cool off, it was time to paint, and then install the bushings and sleeves. Before we could install the leafs, we needed to assemble them. After working on the truck all day, the last thing you want to do is pick up something heavy, but these leaf springs required some muscle due to their weight.
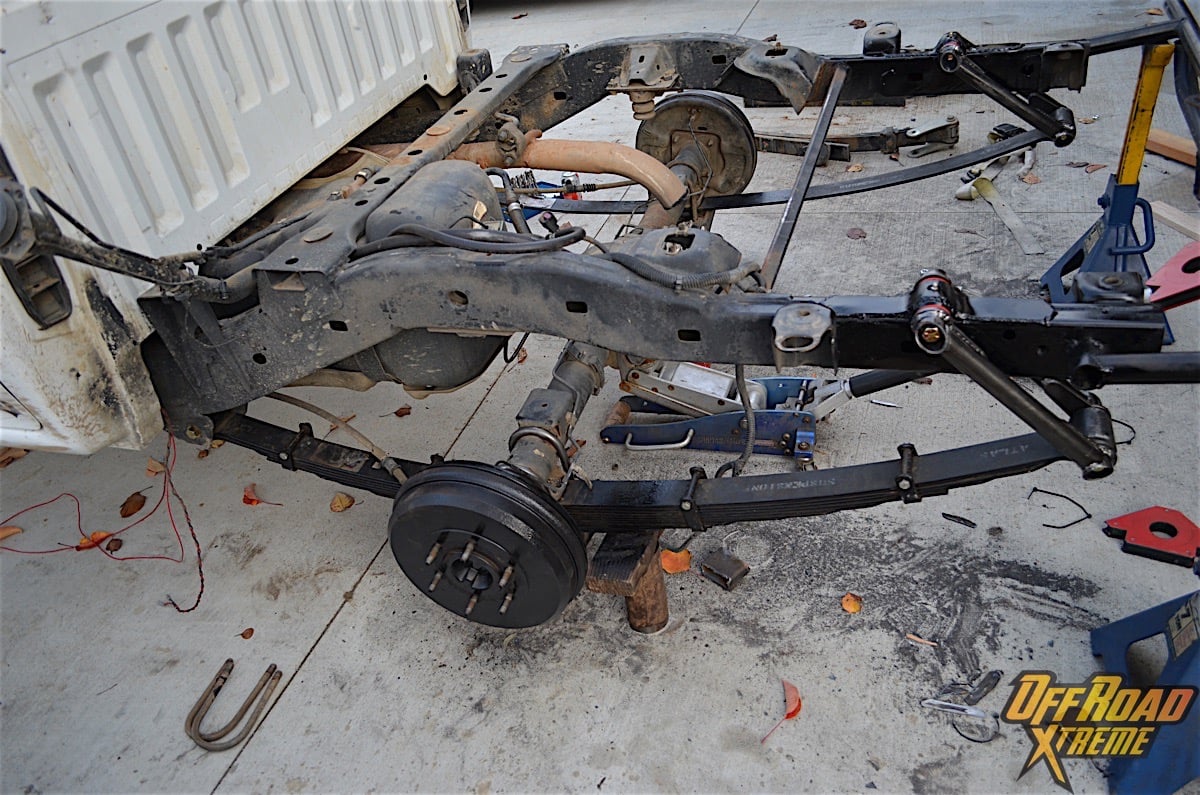
The driver side of the truck was complete, it was time to remove the main spring from the passenger side and complete the install.
Since we were reusing our lift shocks for the time being, we had to drill the shock plate for the 5/8-inch U-bolts. Our frame stands were maxed out, and we were unable to use an impact gun as the axle sat on the ground. We had to manually lift the axle to get the jack positioned beneath it so that we could get a socket wrench under to tighten the U-bolts.
After tightening the bolts, we reinstalled the shocks and finished up the project. The last piece to be put back on the truck was the bed. We had just enough energy left to take the truck for one quick spin to make sure everything felt right, and to see what a difference the leaf springs made.

The install was completed. All that was left was to put the bed and tires on. Once that was done we tested the truck out.
Test Run
Taking the truck down a dirt road, we were surprised at what a difference the new leaf springs made, even with the lift shocks. The first trip was without our spare tire in the bed which made it feel stiffer, but the back of the truck was not getting kicked up any more.
We added a new mounting location for the spare tire a couple of days later and took the truck back out. It rode completely different than it did, just a few days prior. With the added weight behind the axle there was more traction and a smoother ride.
Before (left) and after (right) comparing the difference on the springs. The ride height of the truck did not change, just the length of the spring.
We could feel the rear of the truck stay on the ground and absorbing more of the bumps and dips on the road. On pavement the truck also had a smoother ride, as the same ride design off-road transferred to the street.
More weight will be added down the road with a cage and new bypass shocks. We know this is not the most ideal way to complete the project, but we could not wait to install the new leafs and get rid of our old, super-stiff ride.
The most sensible way to complete the install would be to add new longer rear shocks and fabricate a rear bed cage when installing the leaf springs. With the bed already off it would is easier and less work to get the correct measurements for setting up the shocks, something that we will show in a future article.
This accounts for just one step in a continual build that we expect to get more extreme. Adding the leaf springs was a learning experience for us, and we hope you have gained perspective from our shared knowledge.